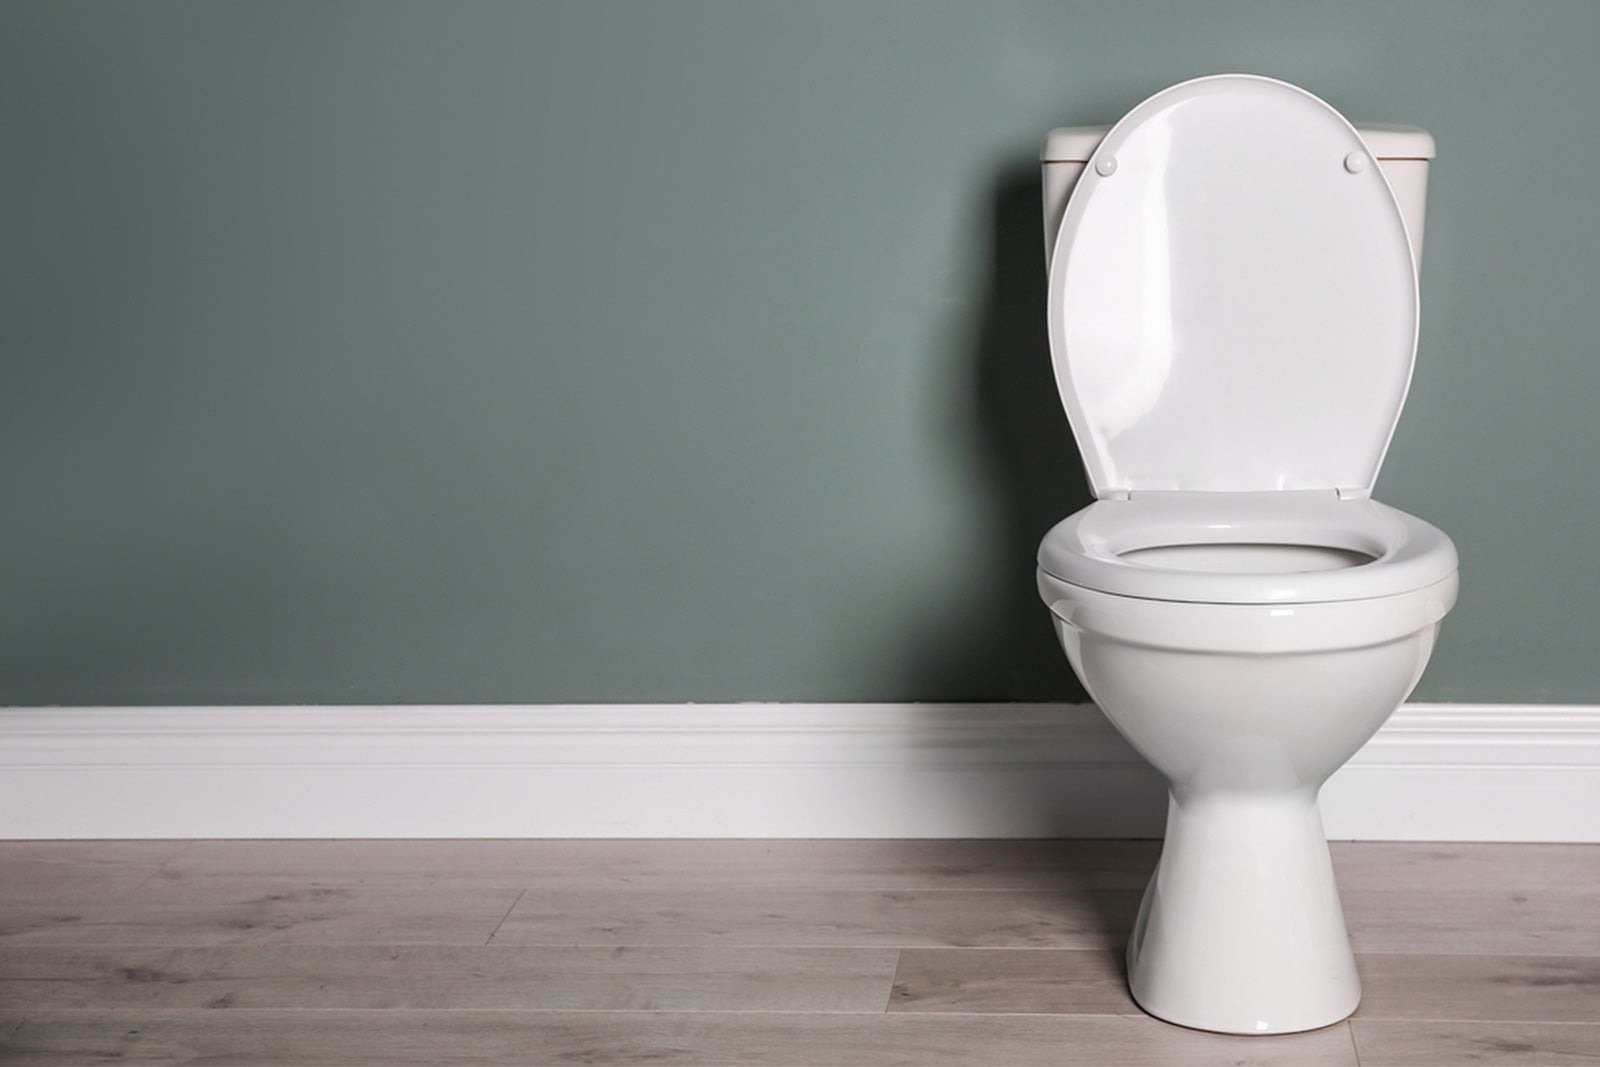
How to Replace a Toilet Handle
This step-by-step guide will help you replace a broken toilet handle.
This step-by-step guide will help you replace a broken toilet handle.
Whether your toilet handle is broken or you just want to update the look of an old, rusted, or corroded handle, replacing a toilet handle is a fairly simple and straightforward DIY project for most homeowners. The hardest part is usually choosing the right style of new handle for your toilet. The rest of the job is simply a matter of removing a nut inside the toilet tank and replacing your old toilet handle with a shiny, new one.
1. Choose a Replacement Handle that Fits Your Toilet
Before you can replace your toilet handle, you need to choose a new one. The part you’re looking for is called a toilet trip lever, and it includes the exterior handle as well as the lift arm that goes inside the tank. Check your existing toilet tank to see where the handle is located, whether it’s on the front, side, or at an angle. Some replacement handles will be designed for specific mounting positions, while others will be universal. Make sure you choose a handle that’s compatible with your toilet tank’s handle mounting position. Use the brand name and model number of your toilet to find one that is compatible.
If you’re not sure what kind of replacement toilet handle to buy, put off this step until you’ve removed the old handle. Then you can take the old handle with you to the hardware store and ask an employee to help you find a replacement that will fit your toilet.
2. Access the Toilet Tank
Spread out a towel on the floor next to the toilet. Remove the porcelain tank lid and gently set it aside on the towel. Be careful with it -- porcelain breaks easily.
3. Disconnect the Lift Chain
Inside the toilet tank, you will see a metal arm that extends from where the toilet handle comes through the side or front of the tank. It connects to a chain that attaches to the flush valve or flapper -- when lifted, the flush valve allows the water to flow out of the tank and into the bowl, flushing the toilet.
Make a note of which hole on the lift arm that chain is hooked into -- most lift arms have at least three holes. Disconnect the chain from the lift arm.

Thinking about coverage?
Security for your home. Protection for your budget.
4. Remove the Old Toilet Handle
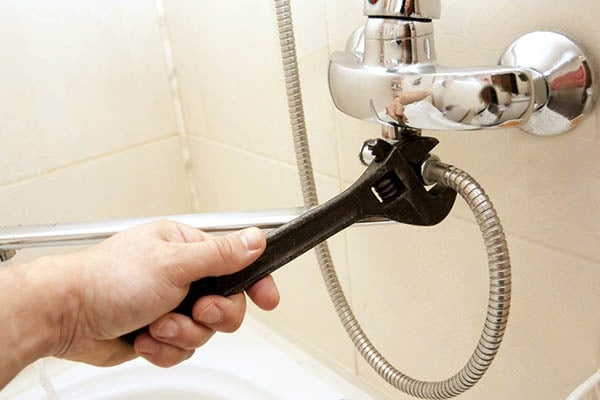
Use a crescent wrench to carefully loosen the nut that holds the toilet handle in position. On most toilets, this nut is threaded the opposite direction of most nuts, which means it has left-handed threads. Turn the nut to the right, or clockwise, to loosen it.
Don’t try to force the nut to loosen. You could crack the porcelain if you turn the nut too hard the wrong way, and then you’ll have much bigger problems than a faulty toilet handle. If you’re having trouble getting the nut to break free, try a shot of WD40 rather than brute strength.
5. Attach the New Toilet Handle
Once you’ve removed the nut inside the toilet tank, you can pull out the old toilet handle and lever arm. Simply pull the lever arm through the hole in the tank. Use soap and water to clean around the handle hole in the toilet tank.
Take the O-ring and nut off the new handle before putting it onto the toilet tank. Insert the lever arm of the new handle through the hole in the tank, then put the rubber washer back onto the lever arm. Slide the nut back onto the lever arm and tighten it finger-tight. Use a wrench to snug down the nut, but be careful -- if you tighten it too much, you could crack the porcelain.
6. Reconnect the Lift Chain
Now, you just need to reconnect the lever arm inside the tank to the flush valve. Reattach the chain to the same hole it was attached to on the old lever arm. Do a few test flushes to make sure the flush valve opens and closes fully.
If the chain is too short, the valve won’t close all the way and the toilet will leak; if it’s too long, the valve won’t open all the way when you flush, and the tank won’t drain fully. You can adjust the chain by clipping it to a different hole on the lever arm, or by connecting a different link on the chain to the connector arm. Once you’re happy with the flush, put the tank back on and pat yourself on the back -- you’re done!
A great way to save yourself time and money with repairs is to have an American Home Shield home warranty. Our home warranty plans cover parts of up to 23 home systems and applainces - like your HVAC, electrical, plumbing, refrigerator, oven, washer and dryer, and more. When a covered item breaks down, you'll simply pay your service fee and we'll assign a Pro to complete the repair. It's that easy!
Learn how a protection plan can help with covered faucet and valve breakdowns.
AHS assumes no responsibility, and specifically disclaims all liability, for your use of any and all information contained herein.

Have a plan for your home when things don't go according to plan
Shop Home WarrantiesDevelopment