How to Install an Outdoor Electrical Outlet
Thinking about installing an outdoor electrical outlet? American Home Shield can help you find a prime location and guide you through the installation process.
Thinking about installing an outdoor electrical outlet? American Home Shield can help you find a prime location and guide you through the installation process.
An outdoor electrical outlet in your yard provides you with convenience and plenty of fun options. The ability to plug in outdoors can mean summer nights spent watching movies on a projector under the stars, a mini-fridge stocked full of cold drinks, and a holiday lights display that dazzles the neighborhood. Let your outdoor lighting ideas run wild.
An outdoor outlet also makes yard maintenance easier since it allows you to use plug-in yard tools without having to finagle a dozen different extension cords. Instead of tripping over multiple cords running from your home, consider installing a new outdoor outlet in your yard. Adding an electrical outlet is a simple installation process as long as you have an interior outlet or circuit that you can access and tap into. Just follow these guidelines, and you’ll have a handy outdoor electrical box in no time.
Choose where you want your outlet to go.
The easiest place to install an outdoor outlet box is on the other side of the wall from an interior outlet because an interior outlet provides a good place to tap into an electrical circuit in your home.
Avoid kitchen and bathroom circuits as well as any specialized circuits that power large appliances, like your washing machine and dryer, or home systems, like your air conditioning unit and heater. Most building codes prohibit you from using these sources since adding an outdoor outlet to these circuits can trip the circuit breaker.
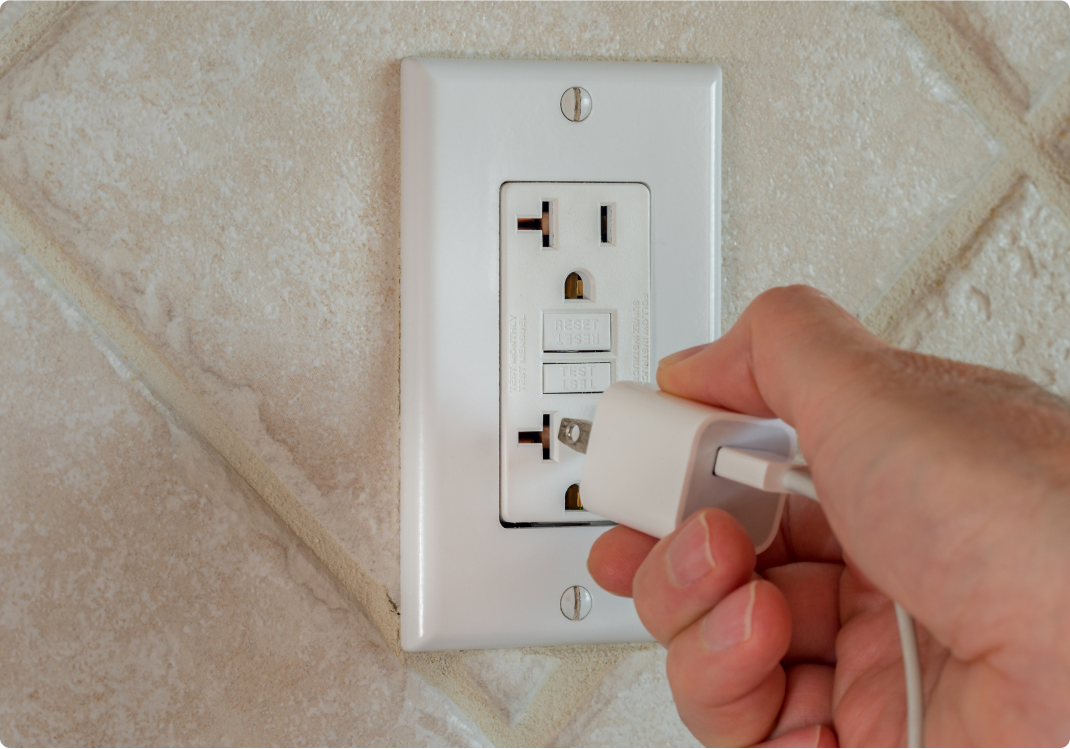
When you decide where to put your outdoor outlet, it’s a good idea to use a voltage tester to make sure that the indoor outlet is working properly.
If you don’t have an interior outlet near the location you have in mind for your exterior outlet, that’s okay. One alternative is to tap into a basement junction box. To do so, first make sure that you’re using a living room, basement, or bedroom circuit. Then, you can drill through the rim joist and siding and run the cable through to the exterior wall, making sure to enclose the cables in a metal conduit.
Cut off your power.
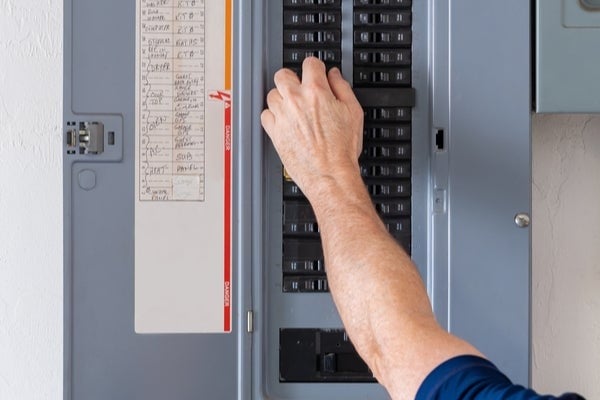
Before you begin to install the electrical outlet, make sure that you turn off the power at your circuit breaker. After flipping the switch on your circuit breaker, use a voltage tester on the interior outlet or junction box to double-check that it is no longer live. If other people have access to your home, you should put a note on the circuit breaker so that someone else doesn’t turn the power back on while you’re tapping into the outlet.
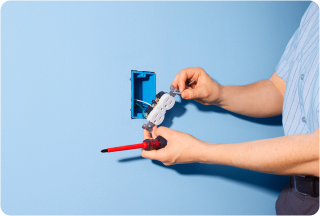
Remove the indoor outlet.
Once you confirm that the indoor outlet no longer has power, it’s time to remove it from the wall.
See how a protection plan can help with covered electrical line issues.
Time to drill.
Then, follow these steps:
Run your electrical outlet wiring.
Outlets typically use 12/2 wire and a 20-amp circuit, so ensure your new wiring cable fits this gauge and amperage. Then, do the following:
Rewire and install your outlet.
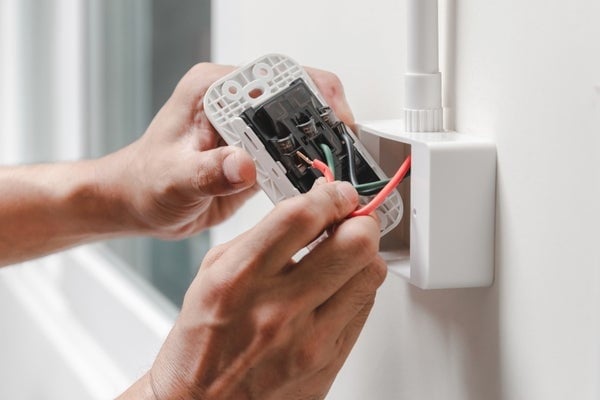
Wiring an outlet can sound intimidating, but it’s easier than you might think. On the interior wall, trim the end of the cable until you have about four inches remaining outside of the electrical box. Remove the cable covering and then strip off approximately 3/4 inch of insulation off the ends of each individual wire.
If the outlet had just one wire set running to it, all you have to do is reconnect them to their original ports. Using a ground wire connector, connect the ground wires to each other; then, connect the bare one directly to the outlet. If you have multiple sets of wires in the electrical box, you’ll make what’s colloquially called a pigtail connection.
Cut a new piece of cable that is about half a foot in length, remove the cover, and strip that insulation back about half an inch. There should be a black wire, a white wire, and a ground (green or copper/bare) wire.
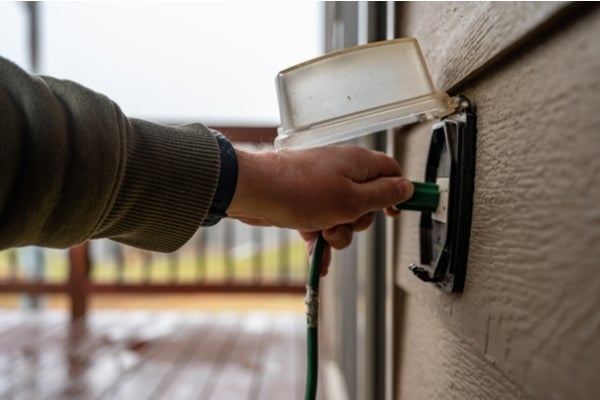
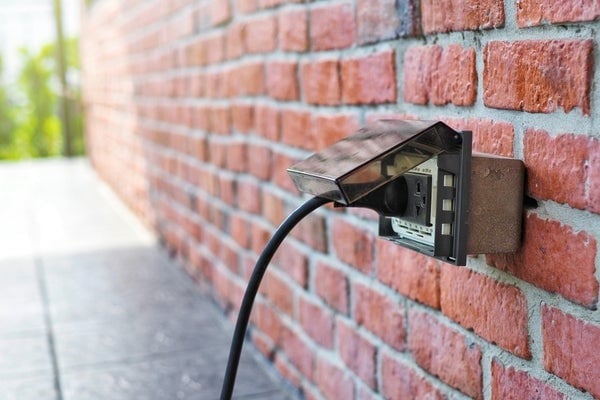
Install your new outdoor outlet.
Once you’re fully wired—and not just from the thrill of completing installation—anchor your electrical box to the wall. Then, follow these steps:
Test and enjoy.
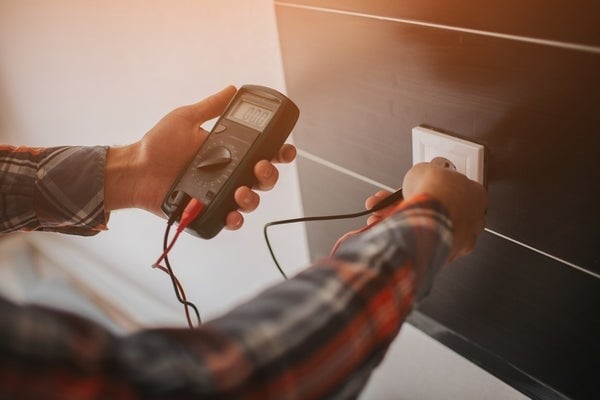
Turn the power back on, remembering to remove your note from the circuit breaker. Use a voltage tester at both interior and exterior outlets to make sure they work correctly.
Finally, enjoy having electricity outdoors with your new outdoor outlet box. Go ahead and install outdoor lighting and plug in your speakers. You’re ready to throw the backyard bash of your dreams.
Finally, consider signing up for an American Home Shield home warranty to help protect your budget. We offer comprehensive warranty coverage and flexible pricing and plans that work for any household and budget. We even offer electrical warranty coverage as part of what's covered by a home warranty.
AHS assumes no responsibility, and specifically disclaims all liability, for your use of any and all information contained herein.

Have a plan for your home when things don't go according to plan
Shop Home WarrantiesDevelopment