

  1. Home Warranty
  2. Blog
  3. Repair & Maintenance
  4. Garbage Disposal Installation: Step-by-Step Guide
install-garbage-disposal

Garbage Disposal Installation: Step-by-Step Guide

install-garbage-disposal

Need to install a garbage disposal, but not sure you can tackle this yourself? AHS has an easy-to-follow garbage disposal installation step-by-step guide.    

When your garbage disposal is not working, you feel its absence. Without a garbage disposal, you either have to compost or transfer food scraps from the sink to the trash. Dare we mention that you’ll have to deal with cleaning the food particles out of the drain catcher? It’s a wonderful convenience to be able to simply scrape the plates off and grind the leftovers away. 

When your garbage disposal is not grinding or not turning on, you have three options. 

  1. The first is to use your American Home Shield® home warranty membership to submit a service request (by logging into My Account) to diagnose, repair, or replace it. Check out our pricing and plans to see how a home warranty can benefit your household and budget.
  2. The second option is to learn how to fix the garbage disposal. If it cannot be repaired, you may need to replace the garbage disposal yourself. Don’t panic—garbage disposal installation can be fairly easy. Completing this DIY task should take about an hour or two if you’re handy.

Here is everything you need to know about installing this hardworking appliance you rely on daily.

Choose your new garbage disposal. 

On average, you’ll only need to replace your garbage disposal once a decade, so it’s important to choose one that suits your needs. Not all garbage disposals will fit your sink and plumbing setup. When choosing a new disposal, it’s important to think about size, motor power, and suitability for a septic system if you have one. 

While you’re at the hardware store finding the best garbage disposal for your home, pick up the following tools:

  • Flathead and Phillips-head screwdrivers
  • Adjustable wrench
  • Plumber’s putty
  • Circuit tester
  • Twist-on wire connectors
  • Electrical tape

Now you’re ready to start your garbage disposal installation. 

Put safety first. 

breaker switch

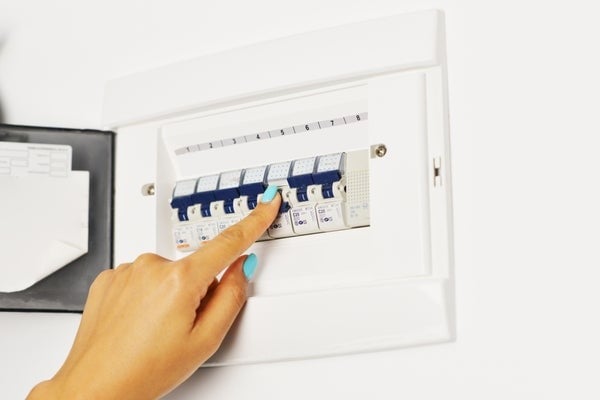
The very first thing you should do is ensure your safety. Turn off the power to your garbage disposal. Tape over the switch, so no one accidentally turns it on while you are uninstalling your old unit and installing the new one. Use your circuit tester to ensure no electricity is flowing to the unit. 

Successfully increased your home's value?

Sounds like a perfect time to find the warranty that fits you best.

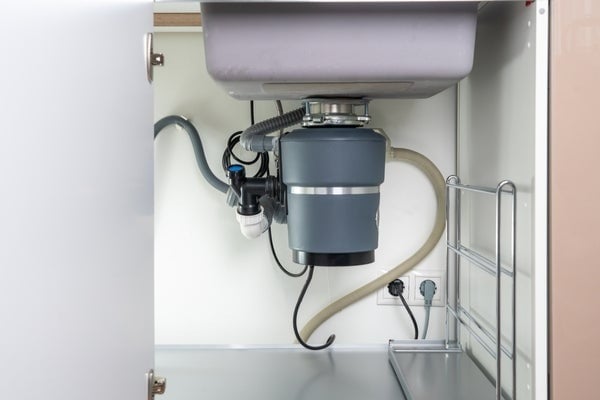
Remove the old disposal.

Follow these steps to take out the old, garbage disposal safely: 

  • Disconnect the electrical cable from the underside of the garbage disposal. 
  • Detach the access hole cover using a Phillips-head screwdriver. 
  • Pull out and disconnect the wires inside the access hole. Disconnect the metal cable that acts as a ground for the system. 
  • Unbolt the drainpipe from the side of the disposal. Use your adjustable wrench to remove the two nuts. 
  • Loosen the locking ring. 
  • Insert a flathead screwdriver into the lower mounting ring and turn it about one-fourth of a turn counterclockwise to unlock the disposal. The unit should drop from where it was attached to the mounting assembly, so keep a tight grip. 
  • Fully unscrew the mounting ring from the underside of the sink. Remove the locking ring with a screwdriver. 
  • Push the sink flange up from the sink drain. 
  • Scrape away any old plumber's putty. Then, apply a generous amount of plumber’s putty around the flange to act as a gasket. Place the sink flange back in the drain hole.
  • Reconnect the mounting ring, using a screwdriver to tighten the mounting screws. 
  • Scrape away any excess putty around the sink flange topside (in your sink basin) and underneath.

See if your local recycling center will take your old garbage disposal for the metal and plastic.

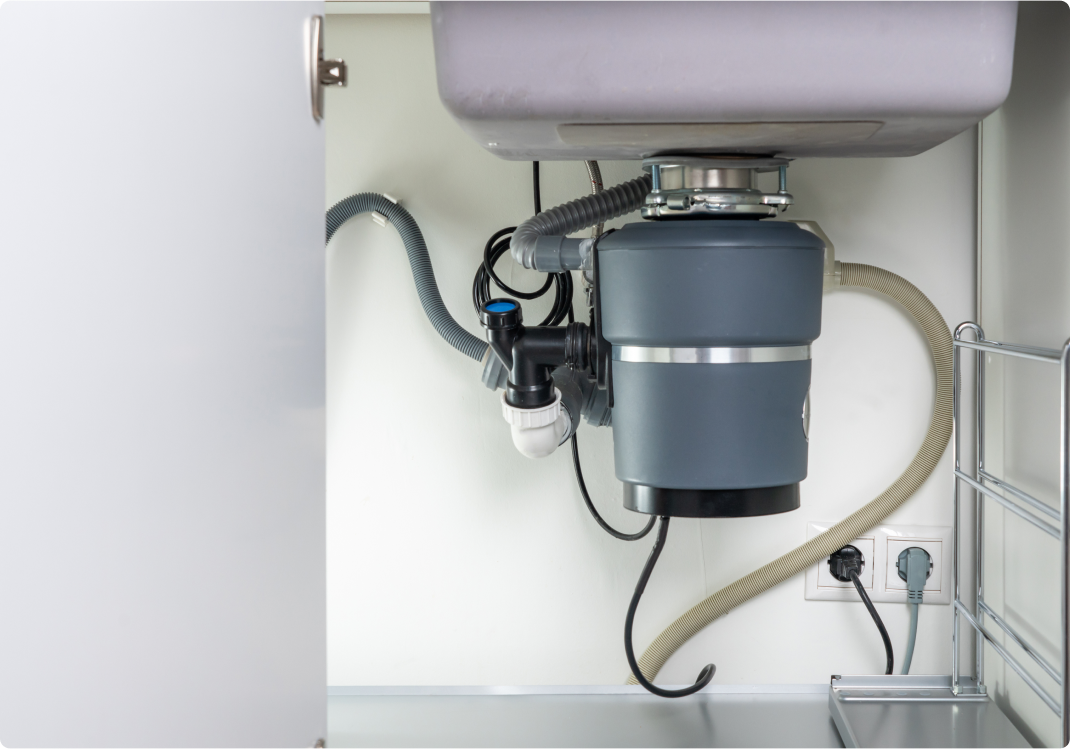
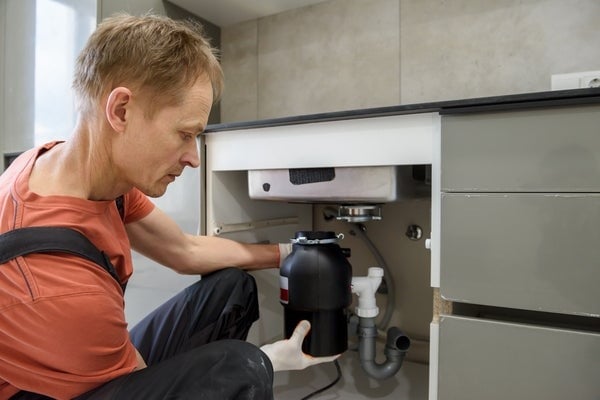
Install your new garbage disposal.

man installing garbage disposal

Follow these steps to install the new garbage disposal: 

  • Reconnect the electrical cables and ground wire before the new garbage disposal installation. 
  • Remove the access hole cover on your new unit and retrieve the wires inside. 
  • Connect the two white wires (one from the garbage disposal, the other from the wall) using twist-on wire connectors. Then, connect the colored wires (they may be black or blue). You can also use electrical tape to attach the wires to the twist-on connectors. 
  • Hook up the ground wire. After you've made all the electrical connections, return the wires to the access hole and replace the cover.
  • Attach the new disposal to the locking ring. Insert the mounting gasket into the mounting assembly. Turn the lower mounting rings clockwise until the mounting tabs feel secure and the disposal feels stable. 
  • Connect the tailpiece and rubber gasket from your drain line to the disposal. 
  • Turn on the power to your disposal. 

If you provide proper garbage disposal maintenance and understand garbage disposal do’s and don’ts, your appliance can last a long time.


Share:

AHS assumes no responsibility, and specifically disclaims all liability, for your use of any and all information contained herein.

American home shield short logo mark

Don't worry. Be warranty.

Have a plan for your home when things don't go according to plan

Shop Home Warranties

Development