How to Repair a Running Toilet
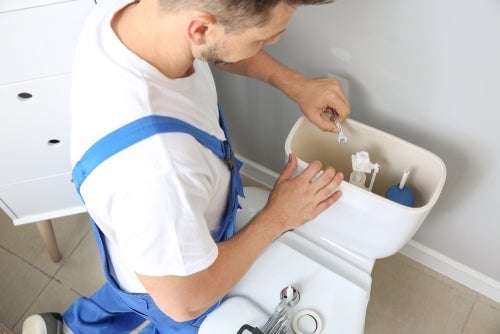
Fixing a running toilet is as easy as 1-2-3. Check out our 3-step guide to help you diagnose and fix your running toilet!


Fixing a running toilet is as easy as 1-2-3. Check out our 3-step guide to help you diagnose and fix your running toilet!
Sooner or later, every household will have a leaky toilet that keeps running. You may notice water drips or hear it constantly refilling. This issue is not only annoying but also wasteful and expensive. Even a moderate toilet leak can waste more than 6,000 gallons of water every month, adding hundreds of dollars to your annual water bill.
Fortunately, fixing that noisy problem may be easy. With a few tips from this article, you can find out how to fix a running toilet, saving the expense of a costly professional repair.
The most likely causes for a running toilet are the flapper or flapper chain, the fill tube, or the fill valve and float. We’ll walk through the steps for how to check these parts, find the source of the issue, and solve the problem.
Before you begin, make sure there is sufficient water pressure in the toilet tank for efficient operation. Water flows to the toilet through a small valve on the wall or floor behind the toilet. Turn the valve counterclockwise to the “on” position to maintain proper water pressure while you are checking for leaks.
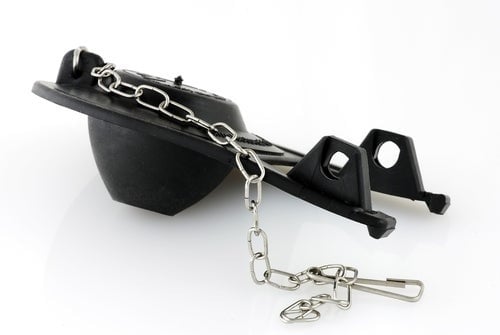
Open the toilet tank and check the chain attaching the flapper to the flush mechanism. The flapper is the rubber stopper that lifts up during the flush, allowing water to flow from the tank to the bowl.
If the chain that is attached to the flapper is too loose, the slack part of the chain can get between the flapper and the rim of the flush valve. This can prevent the flapper from sealing properly. Tighten the chain as much as necessary to minimize the slack.
However, it’s important not to tighten the chain too much. If the chain is too tight, the flapper can’t fully seal onto the flush valve. You may need to experiment to get the right amount of tension in the chain. If you’re lucky, the chain may have just been caught under the flapper, and you simply need to extract it. Imagine calling a plumber for such a simple fix! Learning how to fix a running toilet never seemed so easy.
The following video at the bottom of the article shows you how to adjust the chain so that the flapper closes properly.
If you tightened (or loosened) the chain and that didn’t help, check the flapper itself. Over time, the flapper’s rim can corrode or deteriorate and fail to seal properly. If this is the case, remove the old flapper and buy a new one at your hardware store. Follow the assembly instructions and attach the new flapper to your flush mechanism, ensuring it seals properly as the tank fills with water.
If the toilet handle remains stuck in the downward position after you flush, the lever mechanism may have slipped off. If it broke off, however, you may also need to replace the lever mechanism.
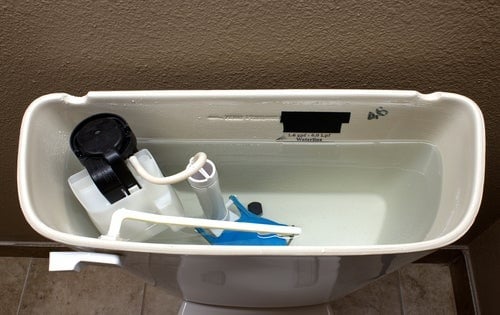
The fill tube is the small plastic tube running from the toilet tank’s fill valve into its vertical overflow tube. If the end of the tube is under water, cut it so that the tube clears the water level.
Maintaining your toilet is made easy with an American Home Shield plan.
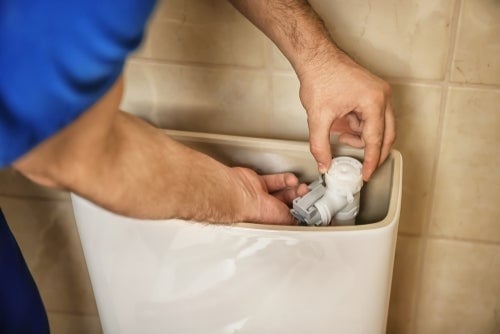
Older toilets have a ball float that controls the fill valve. If the ball floats too high, the water rises above the overflow tube, and the tank never stops draining. A quick fix is to bend the arm of the ball float downward to reduce the flow. You can also adjust the float by turning the screw that attaches the float arm to the fill valve.
In newer toilets, the float assembly may be part of the fill valve; it will look like a cup or cylinder. Depending on the type of valve and float you have, you can adjust the float using a screw on top of the float or a clip on the adjustment rod.
If your toilet is still running after checking the water level and adjusting the float, you may need to replace the fill valve. To do this, you'll need to do the following:
If your toilet is still running after replacing parts or adjusting, a clogged toilet could be the culprit. Learn how to fix a clogged toilet with our helpful steps.
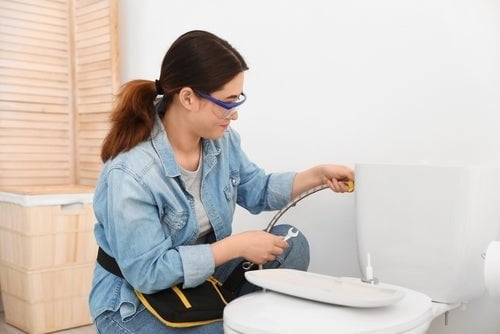
Learning how to fix a running toilet requires a little time and patience (and possibly a visit to the hardware store), but the savings and satisfaction of a successful DIY job are worth the effort.
Do home warranties cover plumbing? An American Home Shield® home warranty sure does. Plumbing and toilet warranty coverage is a feature of all three of our plans. Our home warranty coverage also includes heating and cooling systems, electrical systems, and kitchen and laundry appliances for ShieldGold™ and ShieldPlatinum™ members. Choose the plan that best fits your household and budget today.
AHS assumes no responsibility, and specifically disclaims all liability, for your use of any and all information contained herein.
Have a plan for your home when things don't go according to plan
Shop Home WarrantiesDevelopment