How to Change Your Furnace Filter in 3 Easy Steps

Do you know how to change your furnace filter? Is it the same as your air filter? Keep reading to find out!


Do you know how to change your furnace filter? Is it the same as your air filter? Keep reading to find out!
Being a homeowner is exciting, but it does require some DIY maintenance that isn’t always so thrilling — like changing a furnace filter.
If you’re like many homeowners, you may not even know what a furnace filter is, let alone how and when to change it! That's why we've compiled a list of simple instructions on how to change a furnace filter in three easy steps.
Regularly replacing your furnace filter is essential for maintaining both your HVAC system's efficiency and your home's air quality. A clean filter allows your furnace to run smoothly by ensuring proper airflow, which helps prevent the system from overworking and reduces the risk of breakdowns. Dirty filters can lead to a buildup of dust and allergens in the air, exacerbating respiratory issues and reducing overall indoor air quality. Additionally, a clogged filter forces your furnace to work harder, leading to higher energy consumption and increased utility bills. Changing the filter regularly can extend the life of your furnace, save on energy costs, and create a healthier living environment.
Thinking about coverage?
Security for your home. Protection for your budget.
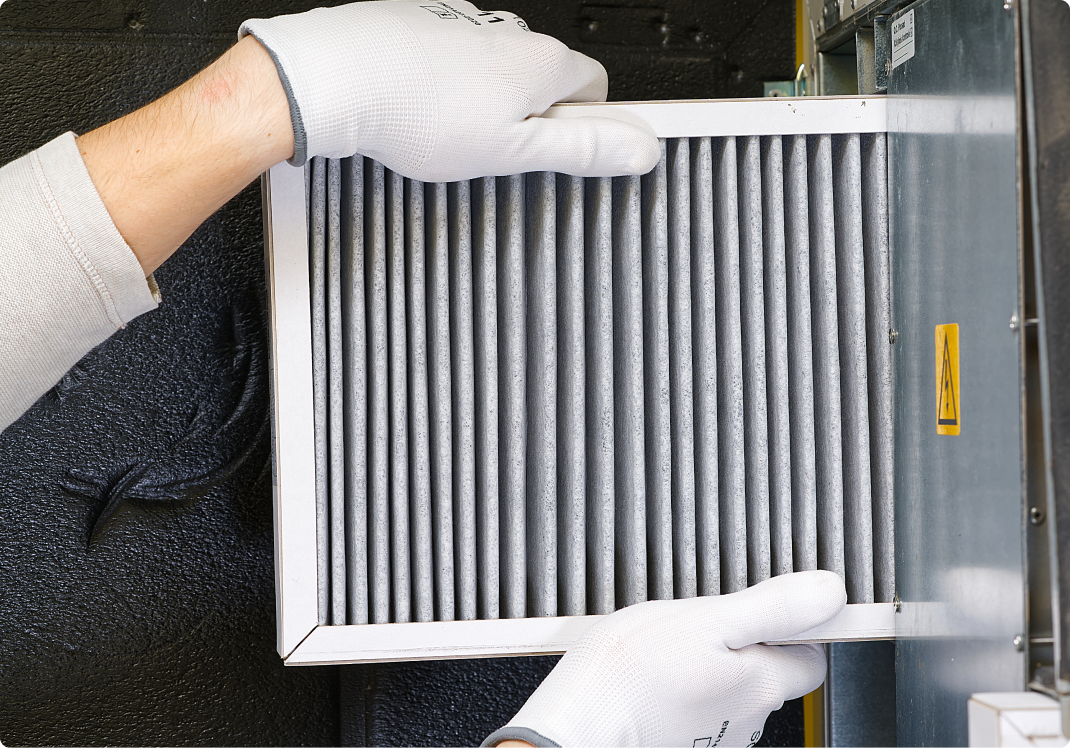
The first thing you need to do is identify which kind of filter you have. After you have turned off your furnace, remove the existing filter, which is located just inside the furnace or inside the air return vent.
You should see an arrow on the furnace filter, which will indicate which direction the air flows. Use a sticky note or permanent marker to mark the direction of the airflow on the exterior of the furnace. This way you’ll always know the correct way to install the filter.
Once you’ve removed the filter, make note of its size on the cardboard frame, so you'll know which size to buy.
Now that you know what size furnace filter you need, all you have to do is purchase it. You can typically find furnace filters at home stores, hardware stores or online. If you're looking to save on costs, American Home Shield® offers members filters at discounted prices.
When installing your new furnace filter, you’ll see markings that tell you which side of the filter should face the furnace. Slide the filter into place and put the cover back over it. Keep note of the date you changed the filter, so you know when to change it again.
And that’s that! Who knew changing a furnace filter would be so simple?
Yes. The furnace and air conditioner typically share the same air handler.
If this is the case, you have a reusable filter. There's no need to replace this filter; just clean it periodically by removing it and spraying off the dust with a garden hose. Allow the filter to dry completely before putting it back in the furnace.
You may think you only need to change your furnace filter once a year, but this can cause your furnace to work too hard, overheat and shut down. A good rule of thumb is to check the filter once a month. Hold your furnace filter up to the light. If you cannot see the light clearly, it is time to replace the filter.
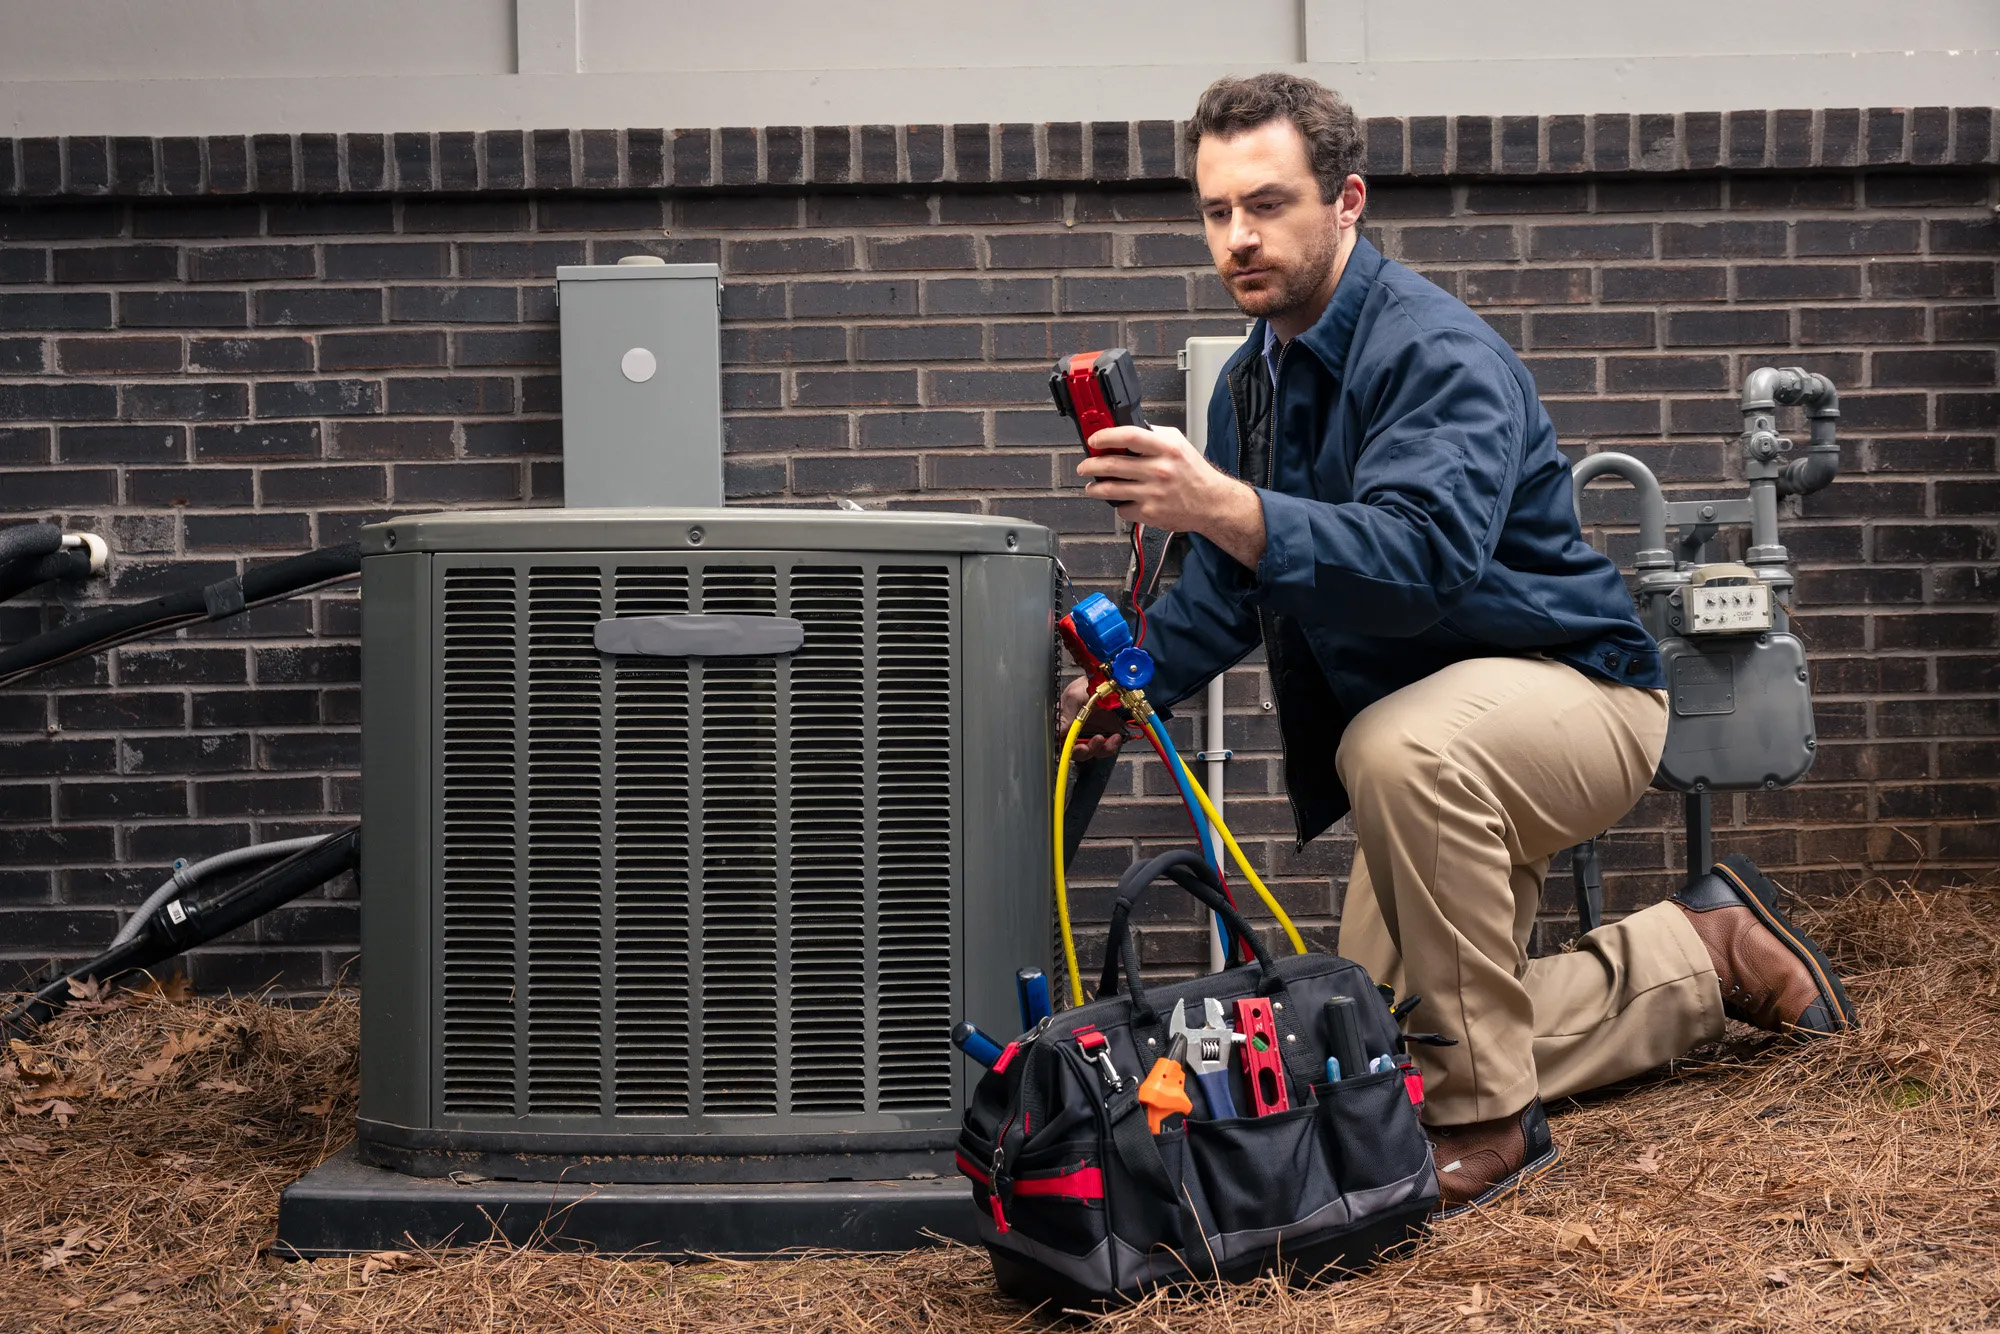
Home warranties from American Home Shield include member benefits like the ability to book HVAC tune-up services to help you maintain the efficiency and longevity of your heating and cooling systems. Our pre-season HVAC tune-up services include a detailed inspection and tune-up of your HVAC system by qualified Pros, who will focus on key components to ensure they are operating effectively. This service helps prevent unexpected breakdowns and costly repairs by identifying potential issues early on. It's a proactive approach that ensures you’re ready for the summer heat and winter chill, so you have peace of mind.

AHS assumes no responsibility, and specifically disclaims all liability, for your use of any and all information contained herein.
Have a plan for your home when things don't go according to plan
Shop Home WarrantiesDevelopment