Let’s take a closer look at what to do if you find that your oven has stopped working and how to keep it in tip-top shape for the long haul.
How to fix common oven problems
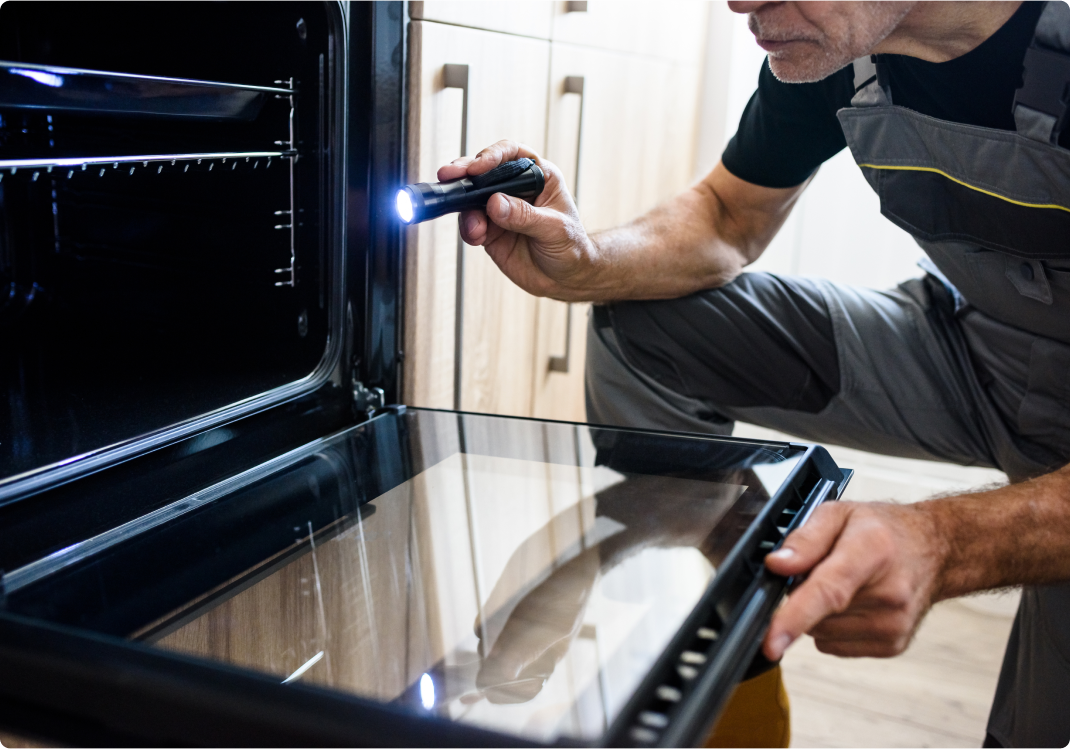
When something goes wrong with your oven, you need to know how to fix it and when to call the pros. Here is your step-by-step guide to DIY oven repair to help fix seven of the most common oven problems.
The gas stove won’t light
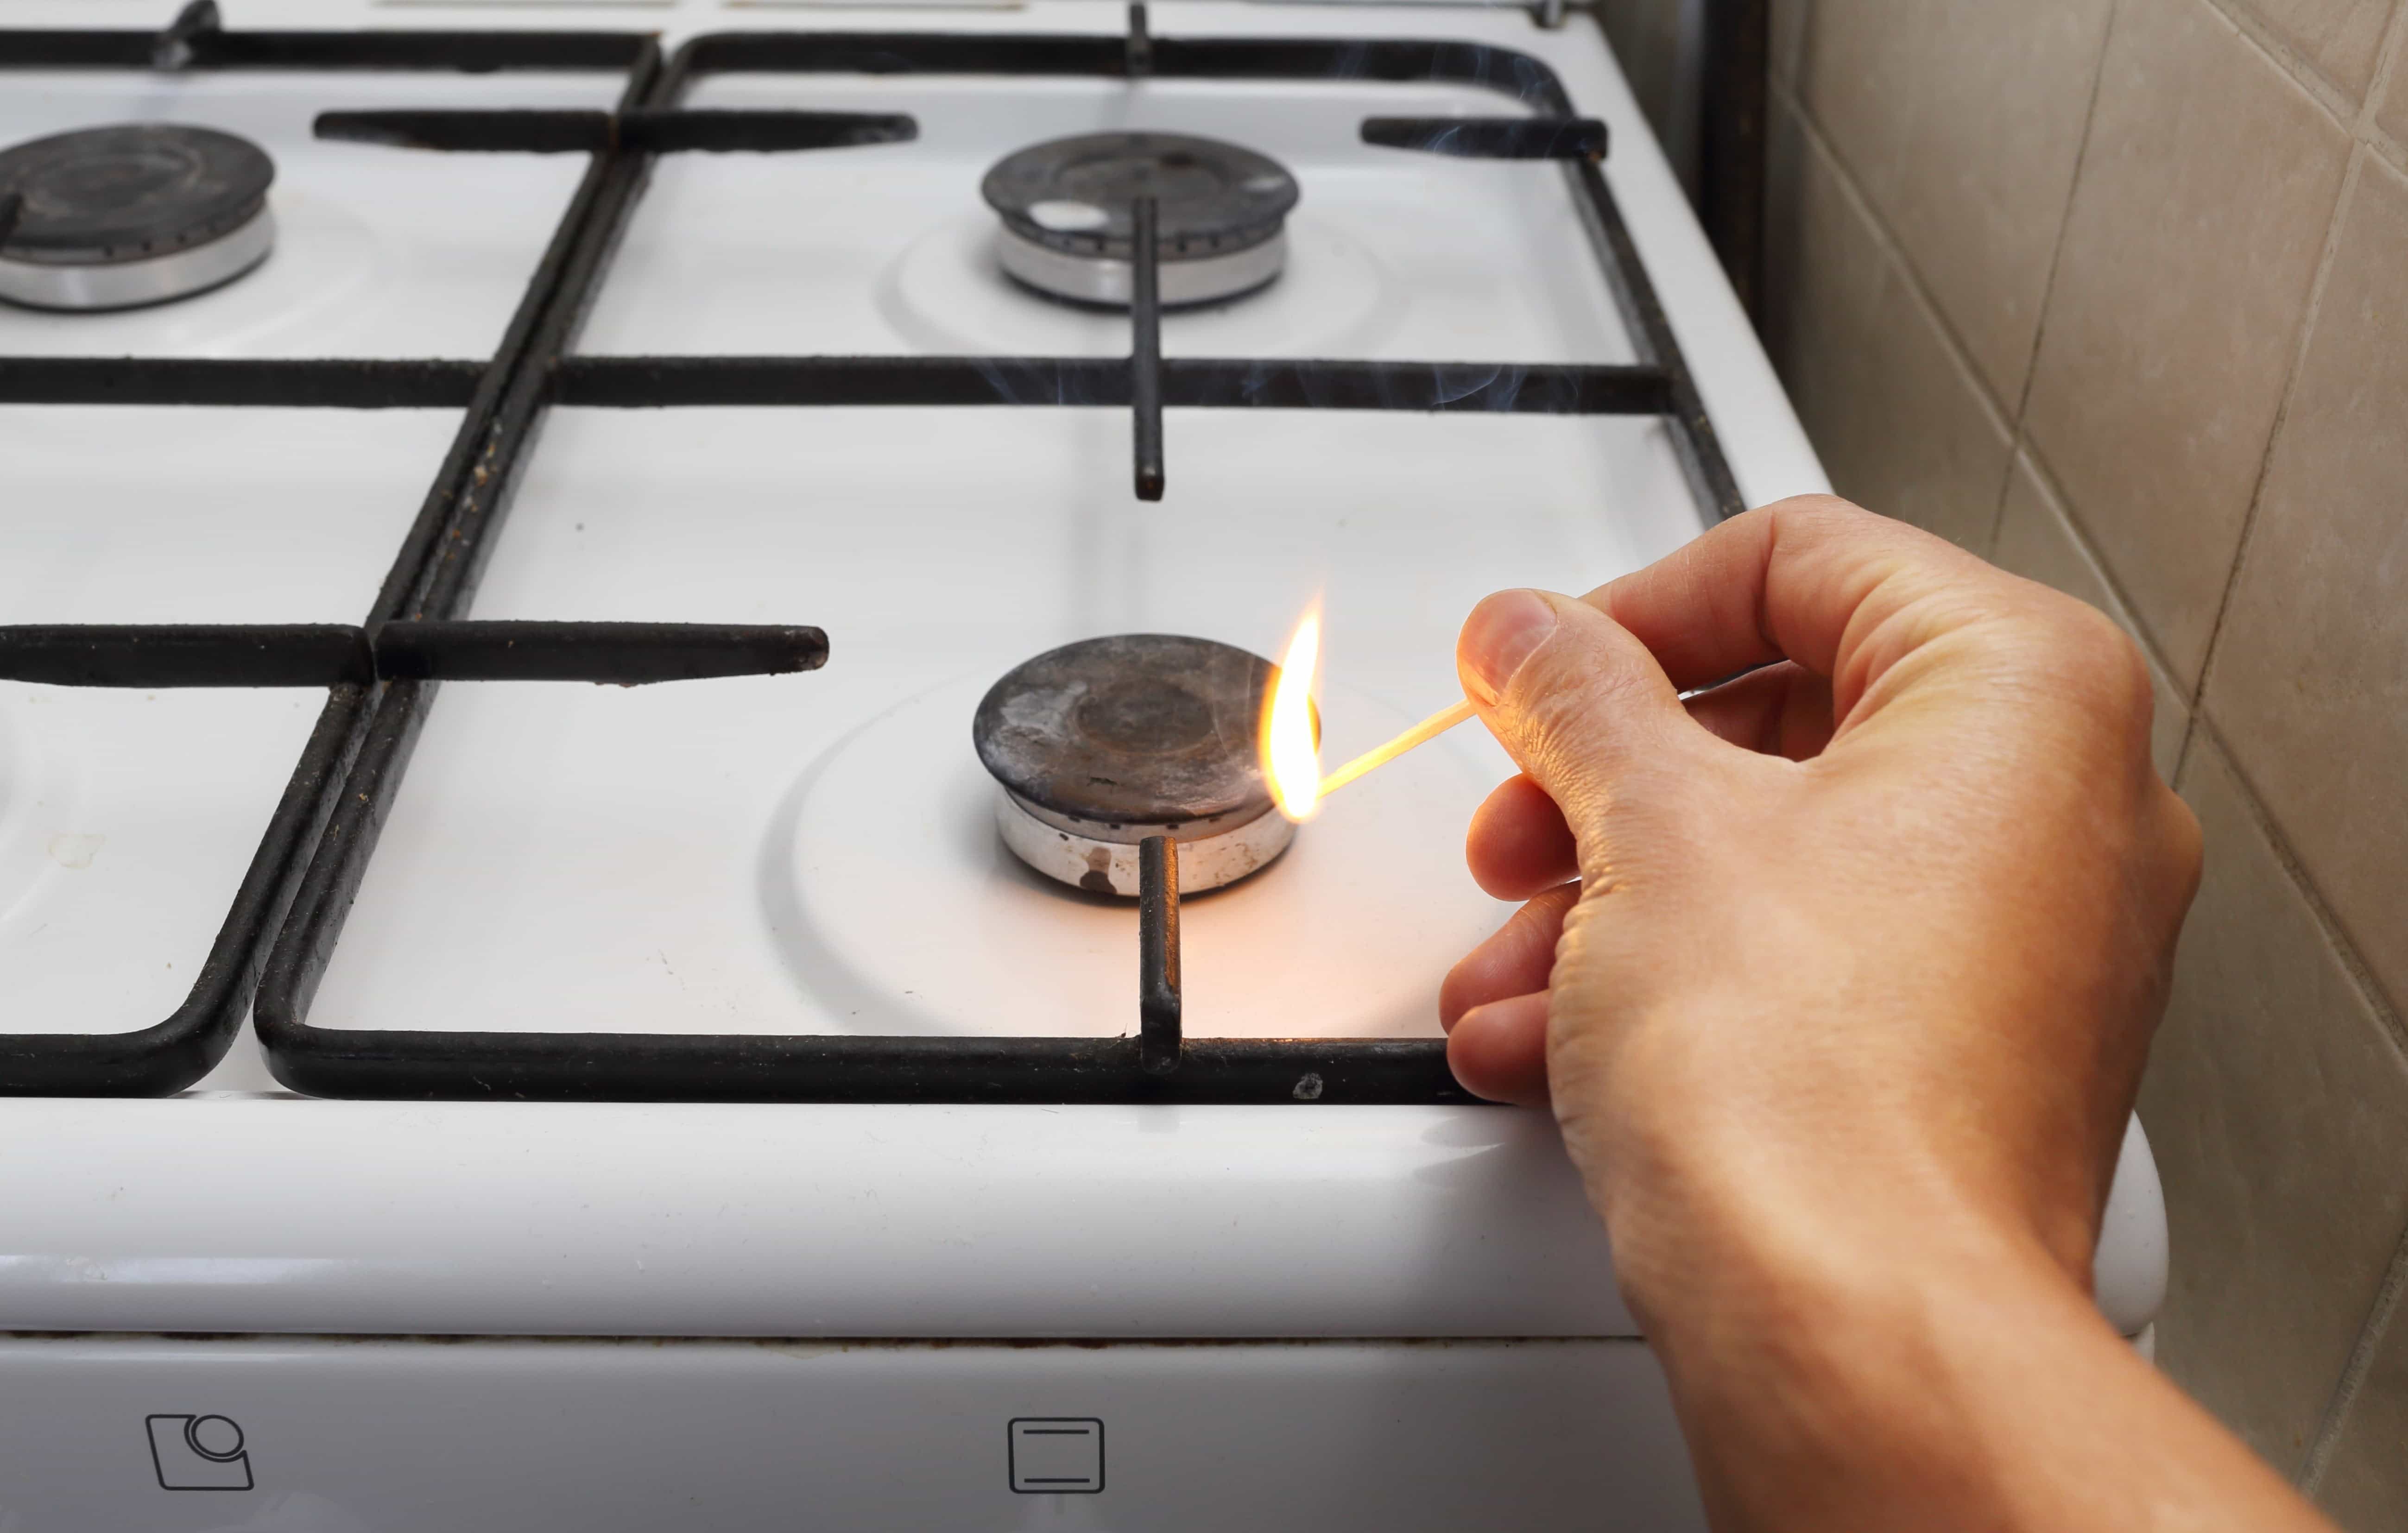
If you have a gas stove, you can light the range burners with a match if the electric ignition isn’t working. However, if the burners still won’t light, and it’s not the result of an obvious problem like a power outage, take these steps to troubleshoot it:
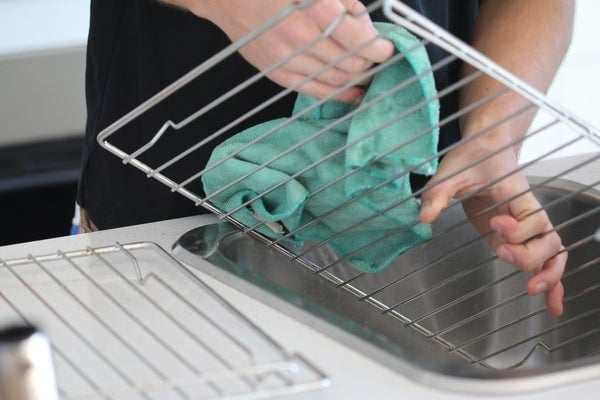
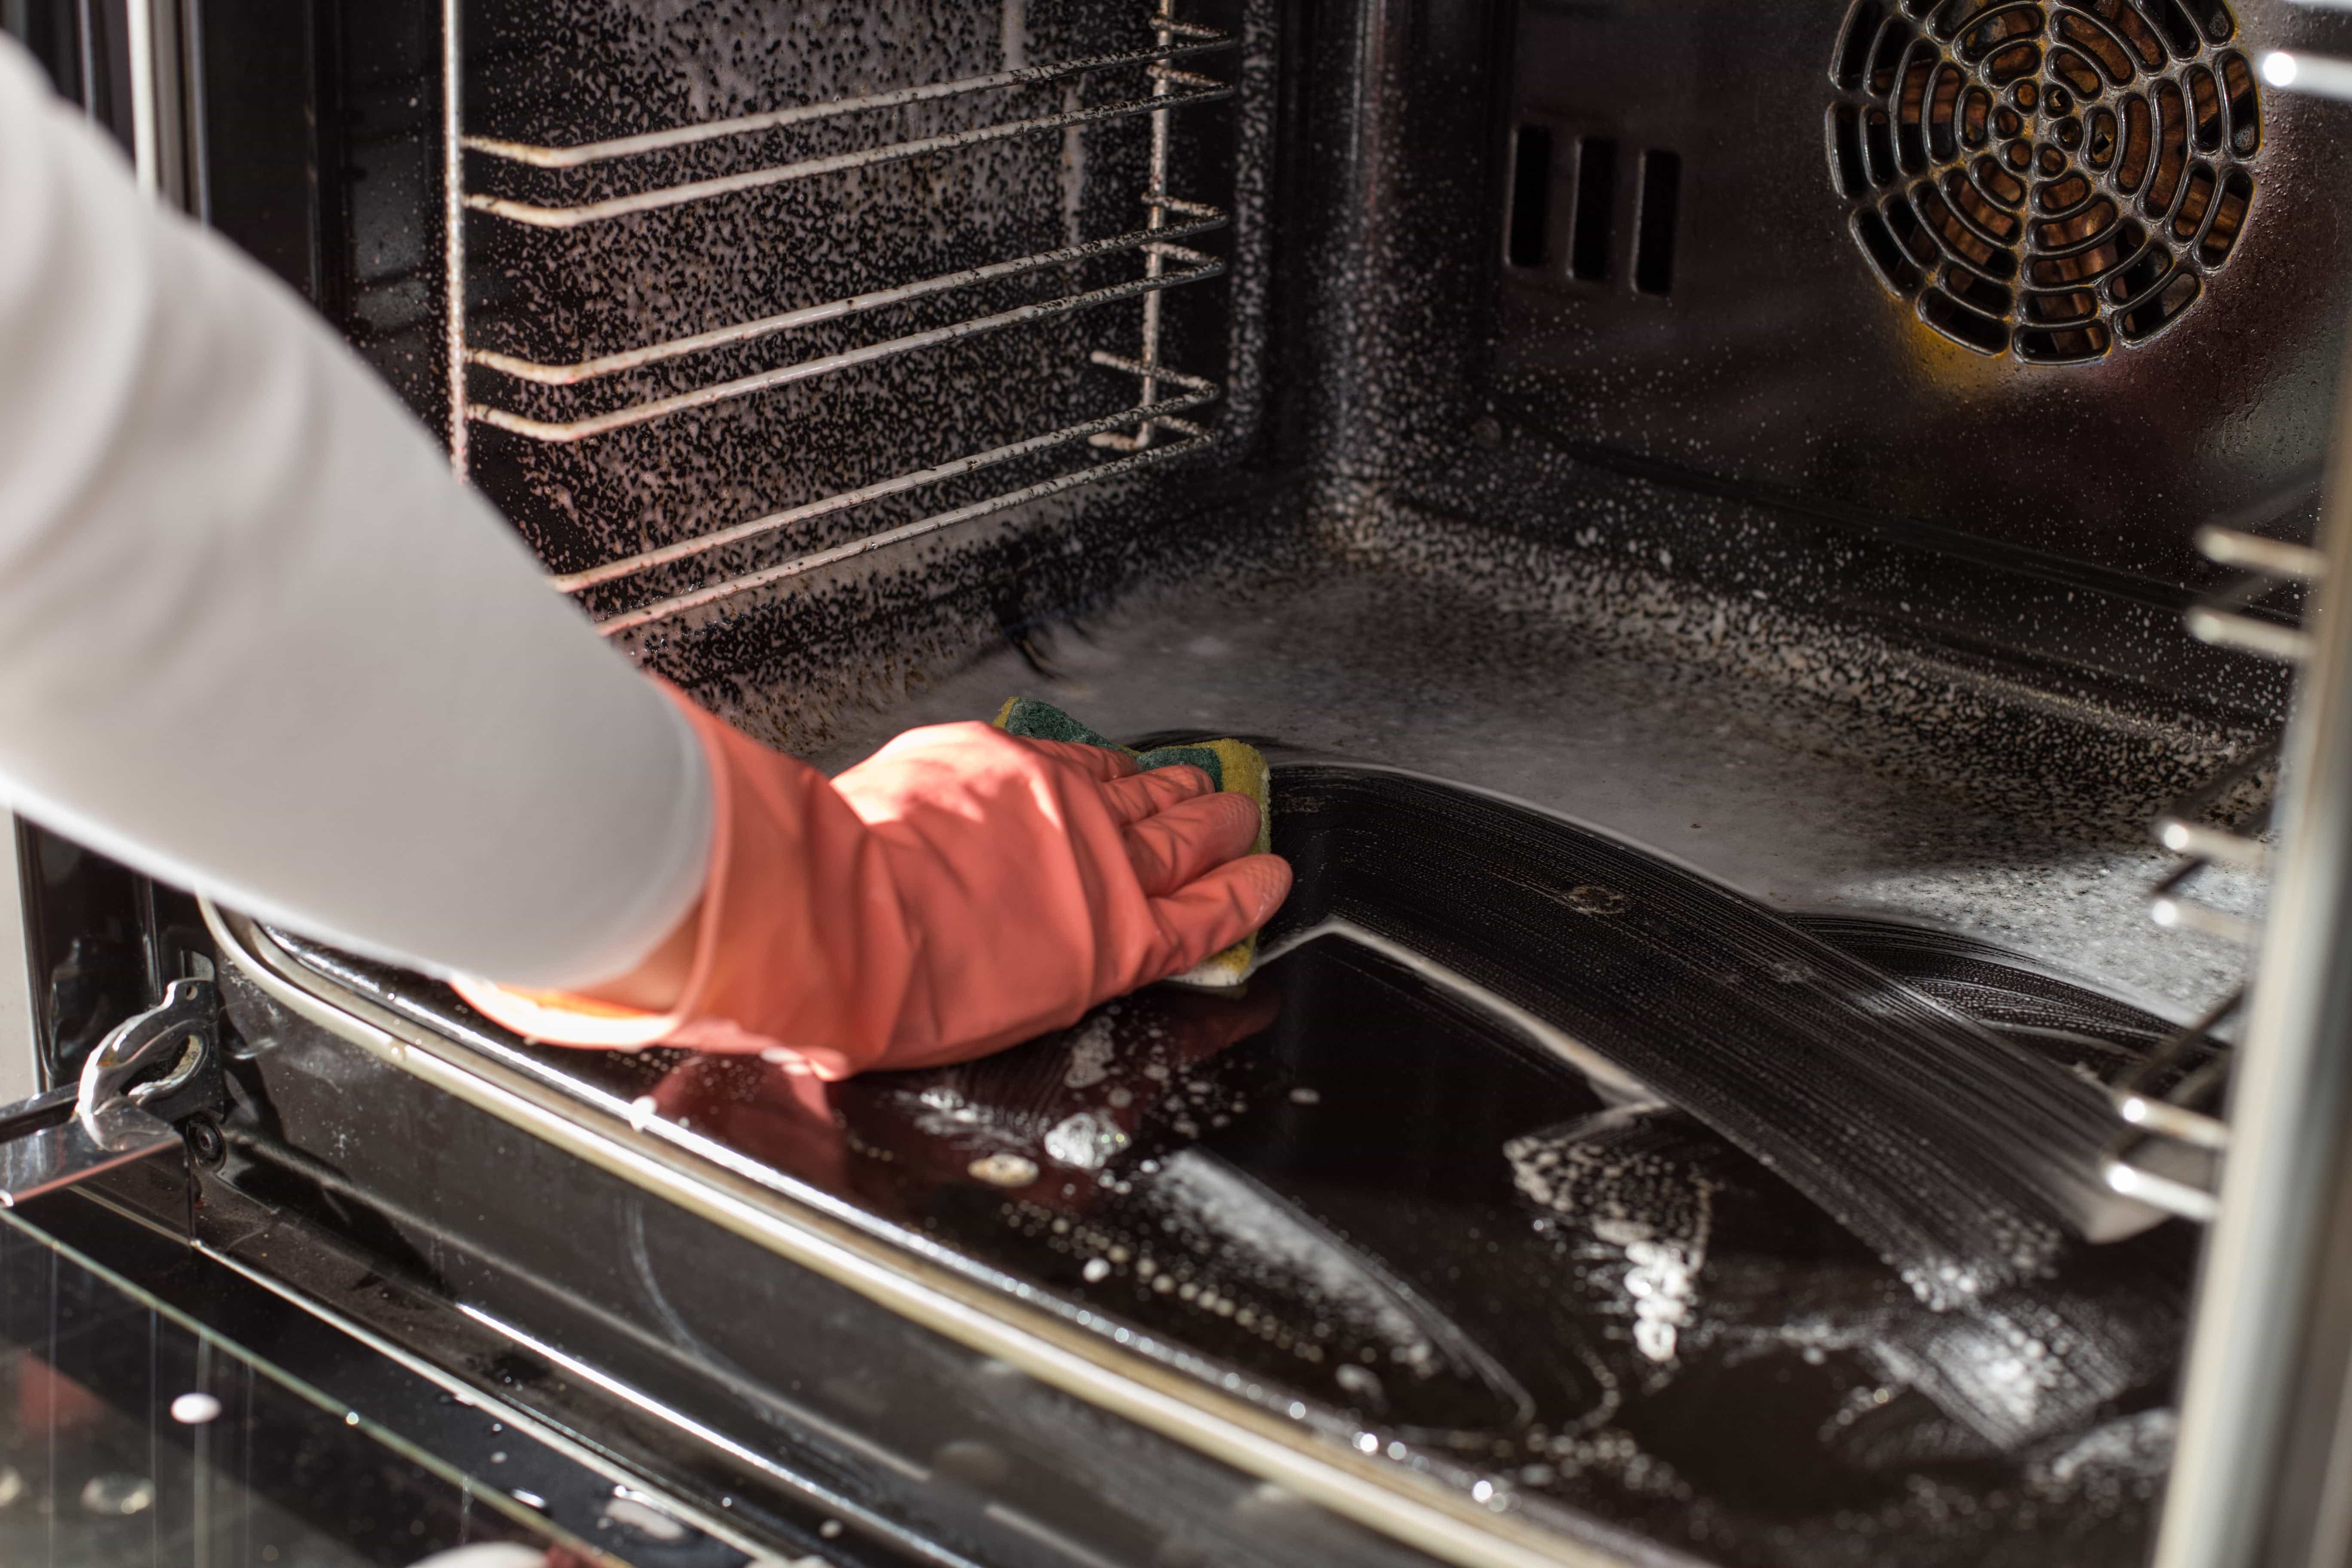
- Lift off the burner grate, burner cap, and burner base.
- Clean any food debris out of the burner with a toothpick or compressed air.
- While you’re at it, clean the grate, cap, and case.
- Check the wires connecting the igniter to the control module. If there’s a loose connection, tighten it.
If this doesn’t solve the problem, it could indicate that the oven igniter is not working; you may need to have the igniter replaced. It could also indicate another problem, like a kink in the gas line. Since this is a hazardous issue, it’s time to call the pros.
The range burner won’t heat

If you have an electric stove, your range burners need electricity to heat up. Sometimes, these burners go bad and need to be replaced. If one of your electric burners won’t heat up, follow these steps:
- Switch out the faulty burner with one that you know works. Simply unplug it from the burner socket and plug in the working one.
- If the working burner heats up, that means all you have to do is replace the original one.
- If the working burner doesn’t heat up, the problem may be the socket. Does the socket look burned or damaged? You may need to replace it.
- Test the burner again. If it still doesn’t work after replacing the socket, test the infinite switch and replace it, if needed.
The oven is not heating
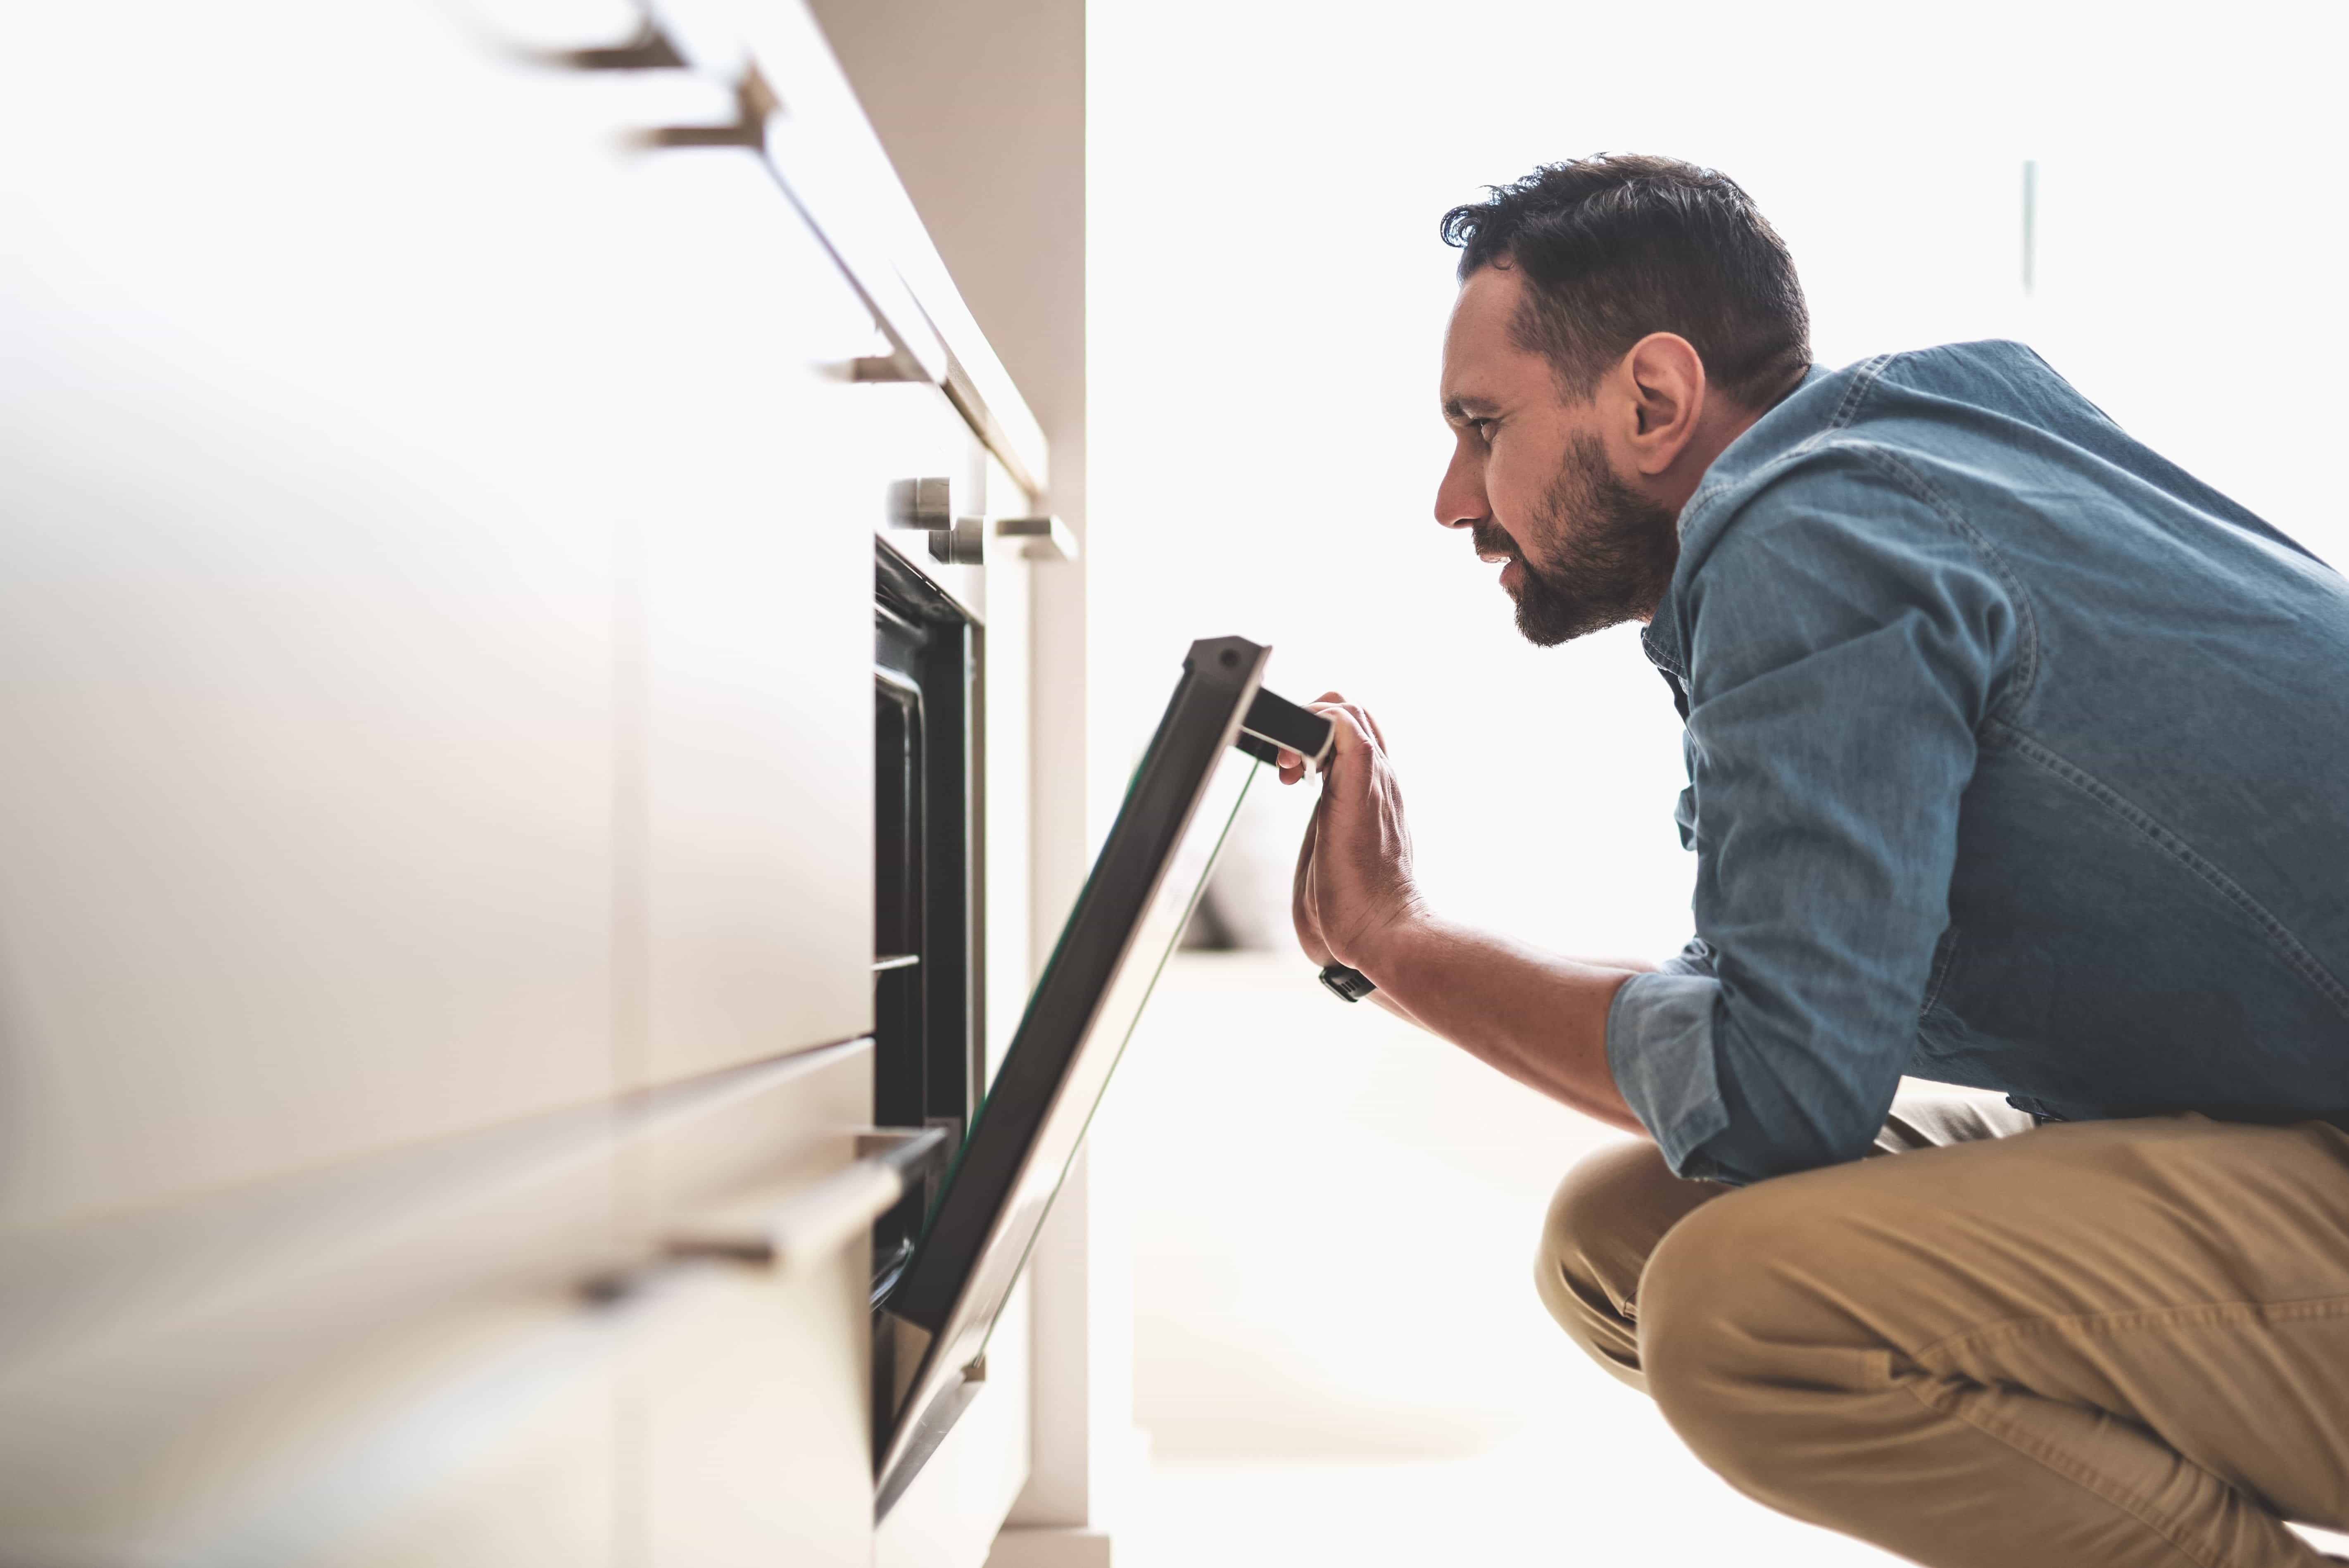
An oven that won’t heat is usually the result of a faulty igniter (for a gas oven) or heating element (for an electric oven). You may be able to replace the heating element or igniter yourself:
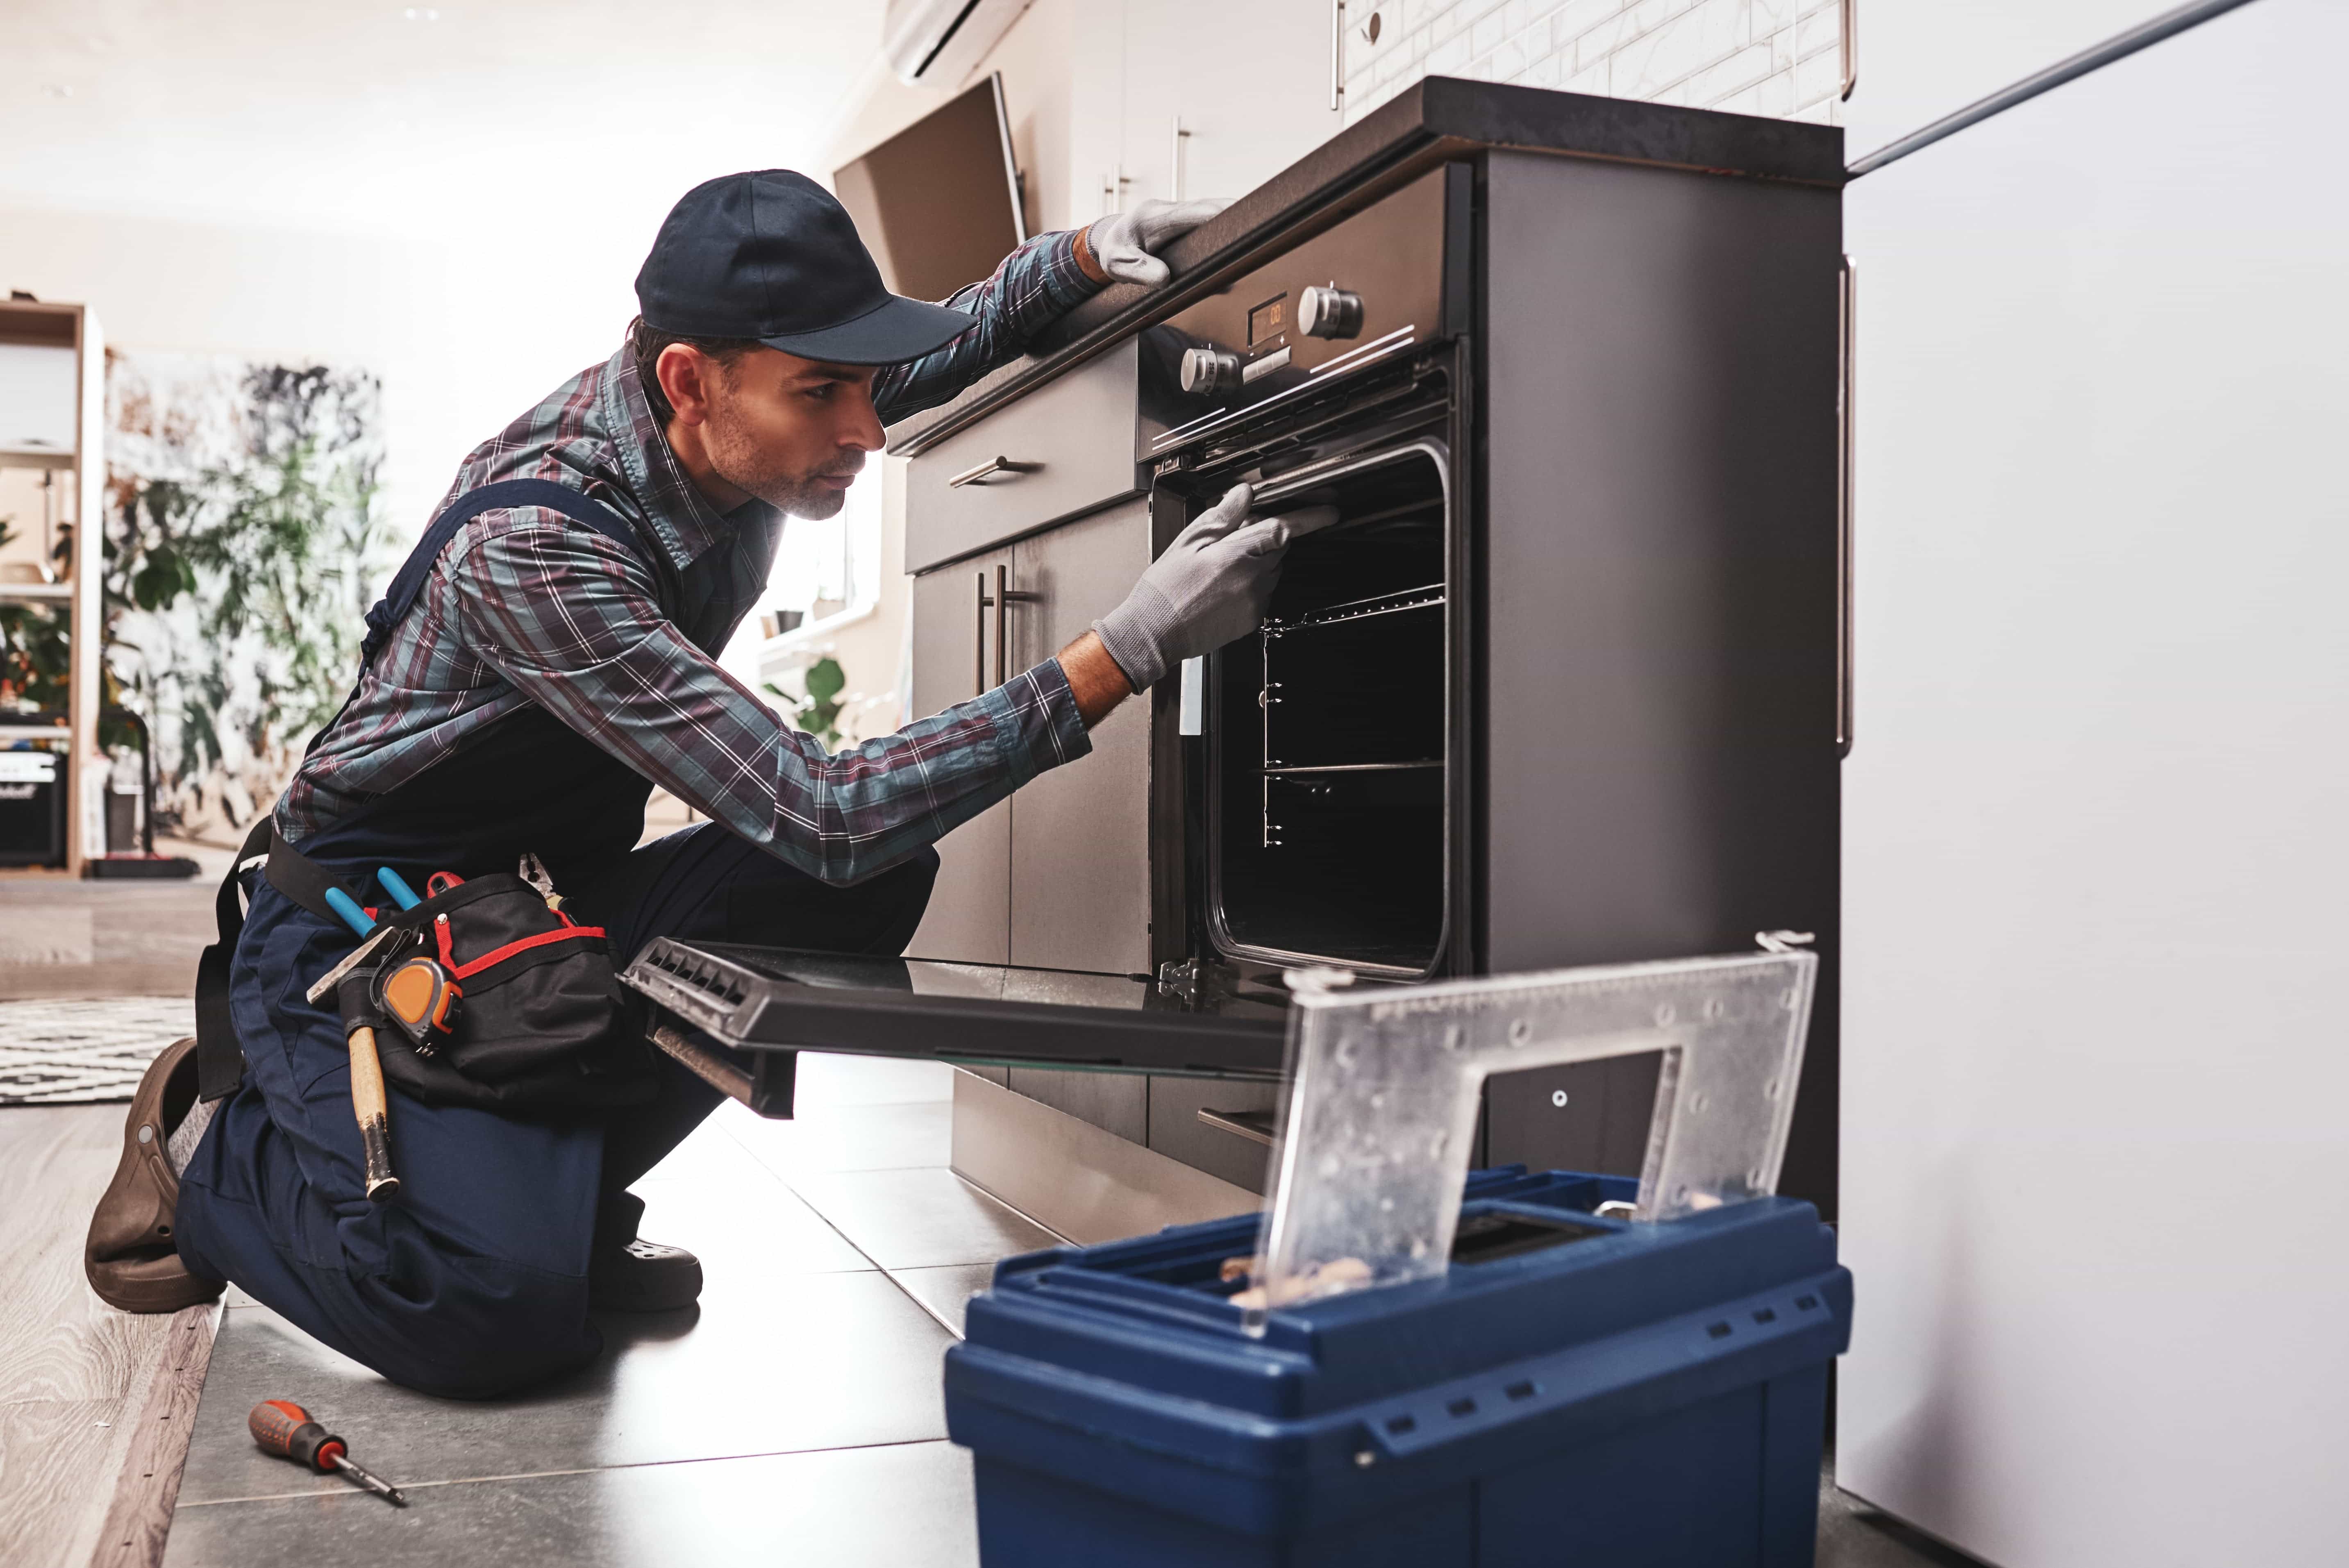
- Make sure to turn off the power to your oven before servicing it.
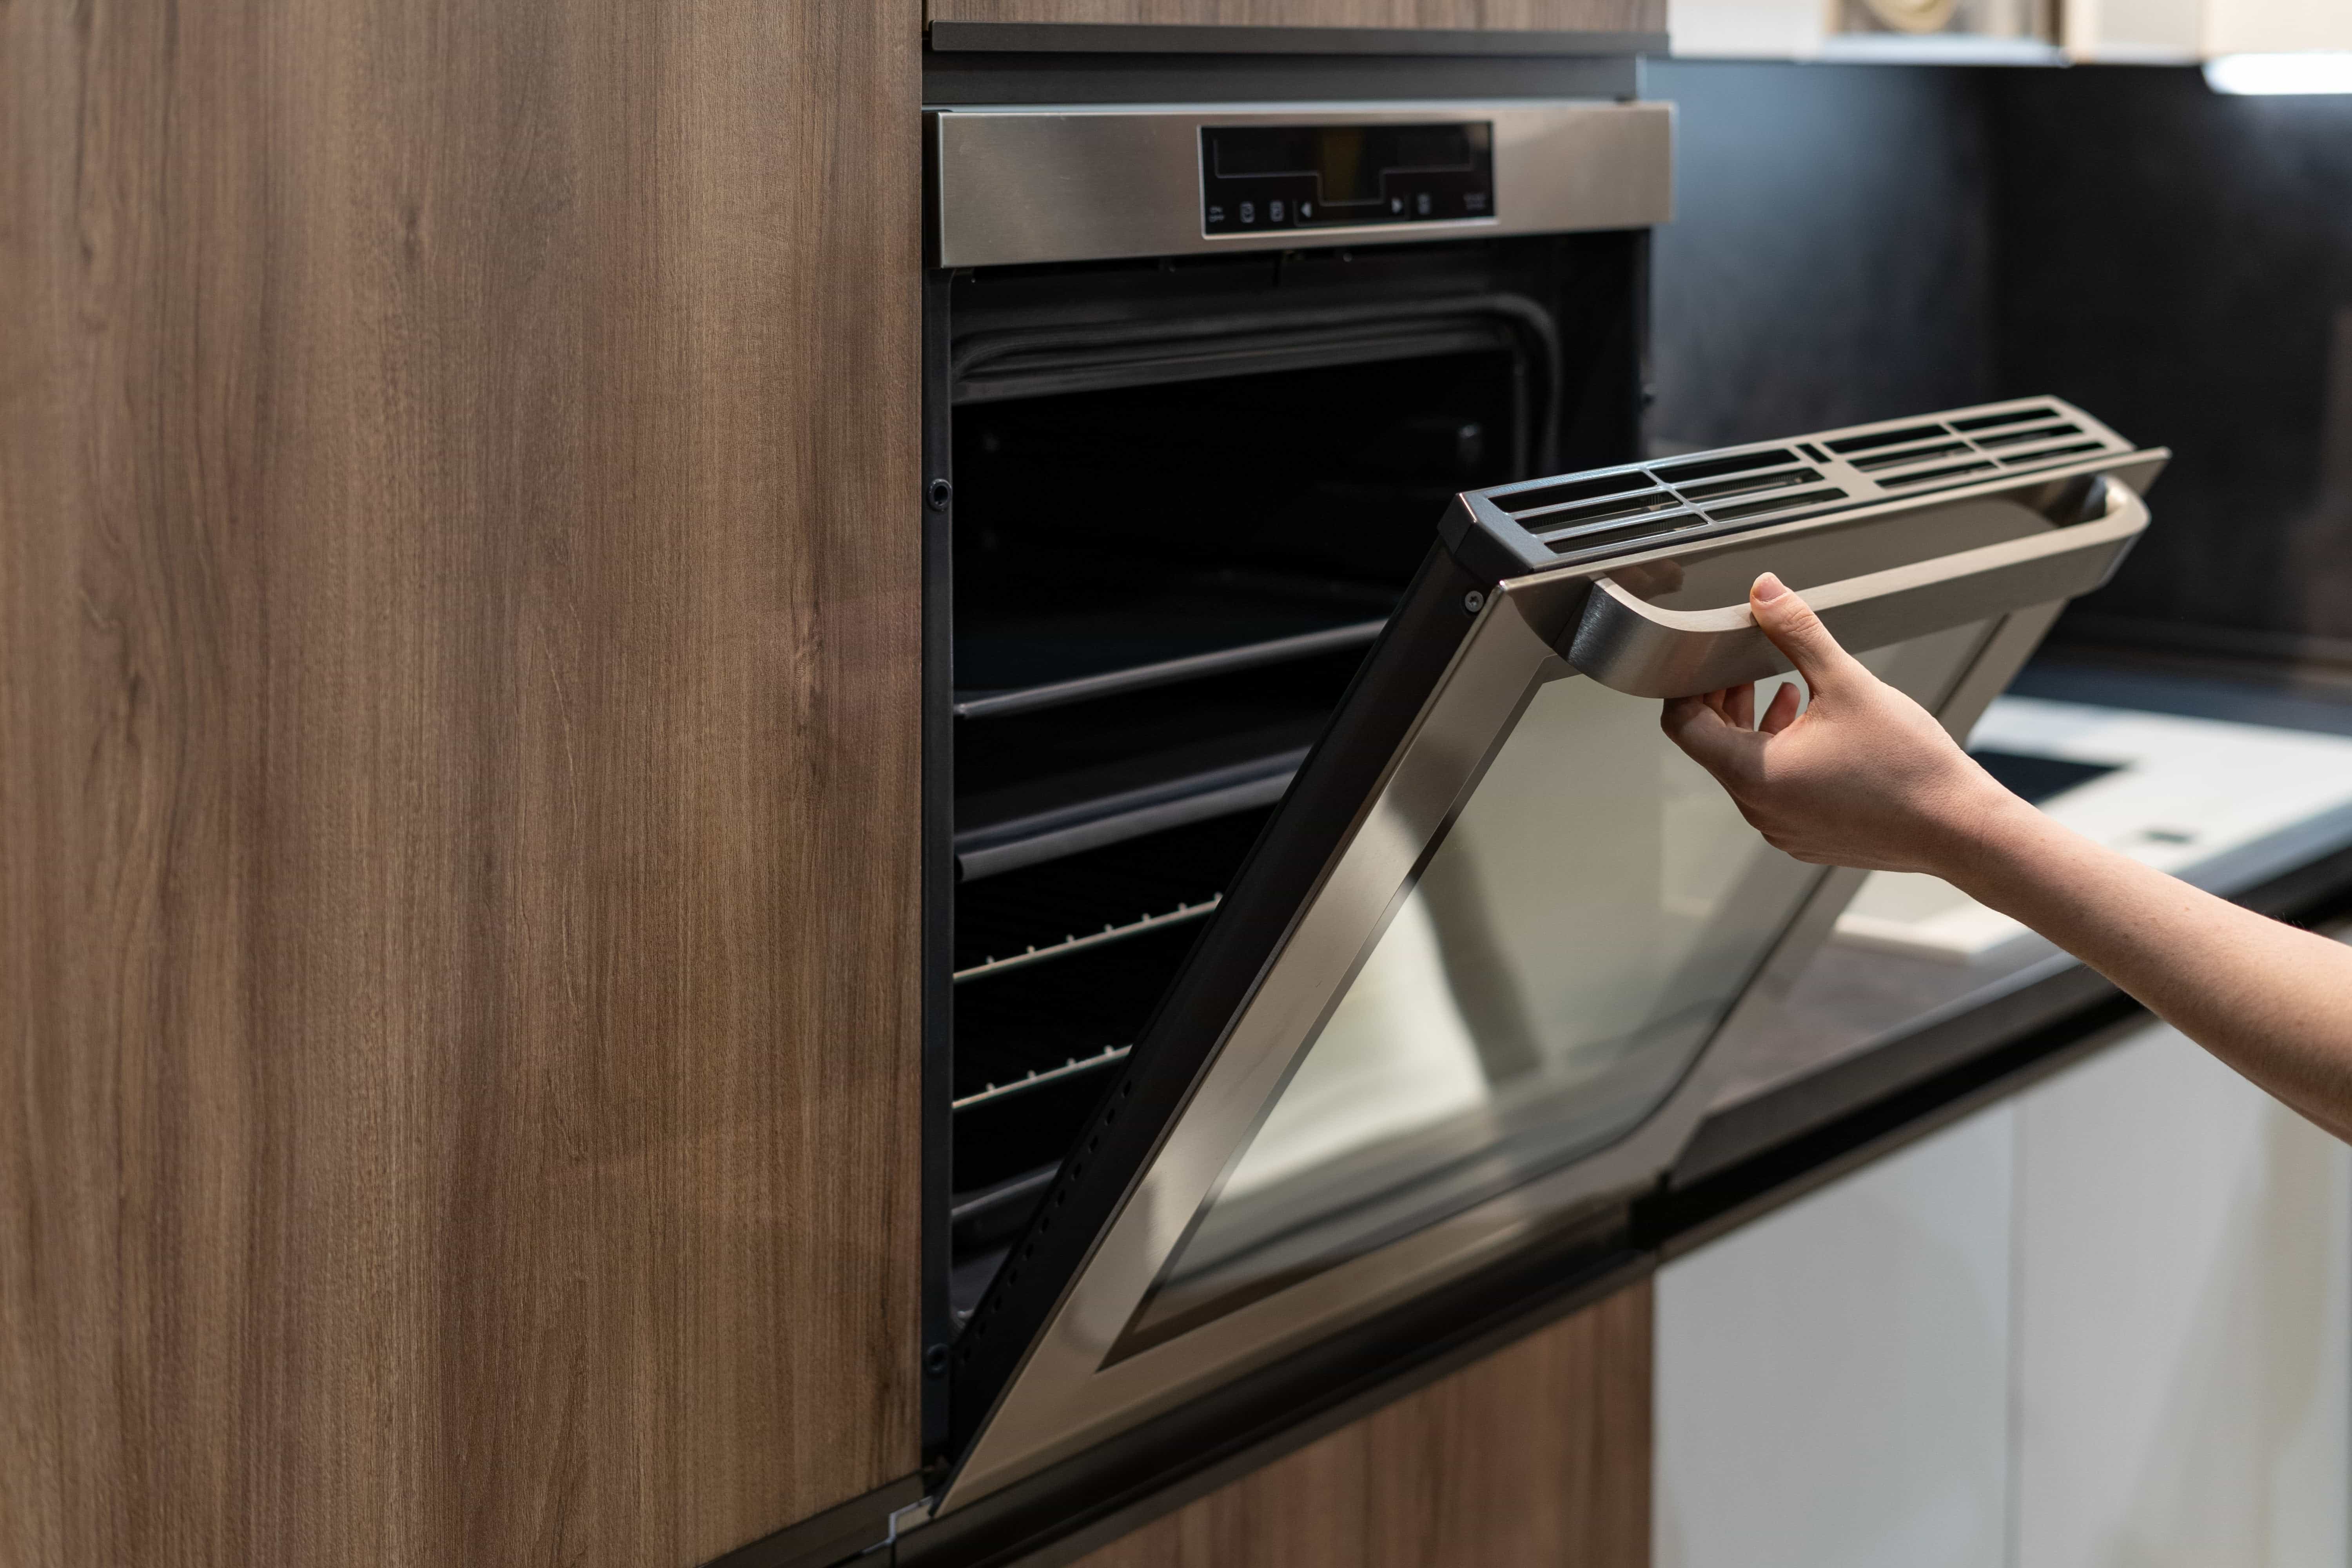
- Use a screwdriver to remove the old igniter or heating element. Heating elements and the igniter are usually located inside the oven.
- To get to your igniter, remove the broiler or storage drawer.
- If your heating element is hidden, you may need to call a repair person to replace it for you.
A gas oven not heating up— plus faulty gas burners— indicates that the problem is most likely the gas line. Gas oven repair for a defective gas line usually requires the skill of a trained professional.
The oven won’t heat to the right temperature
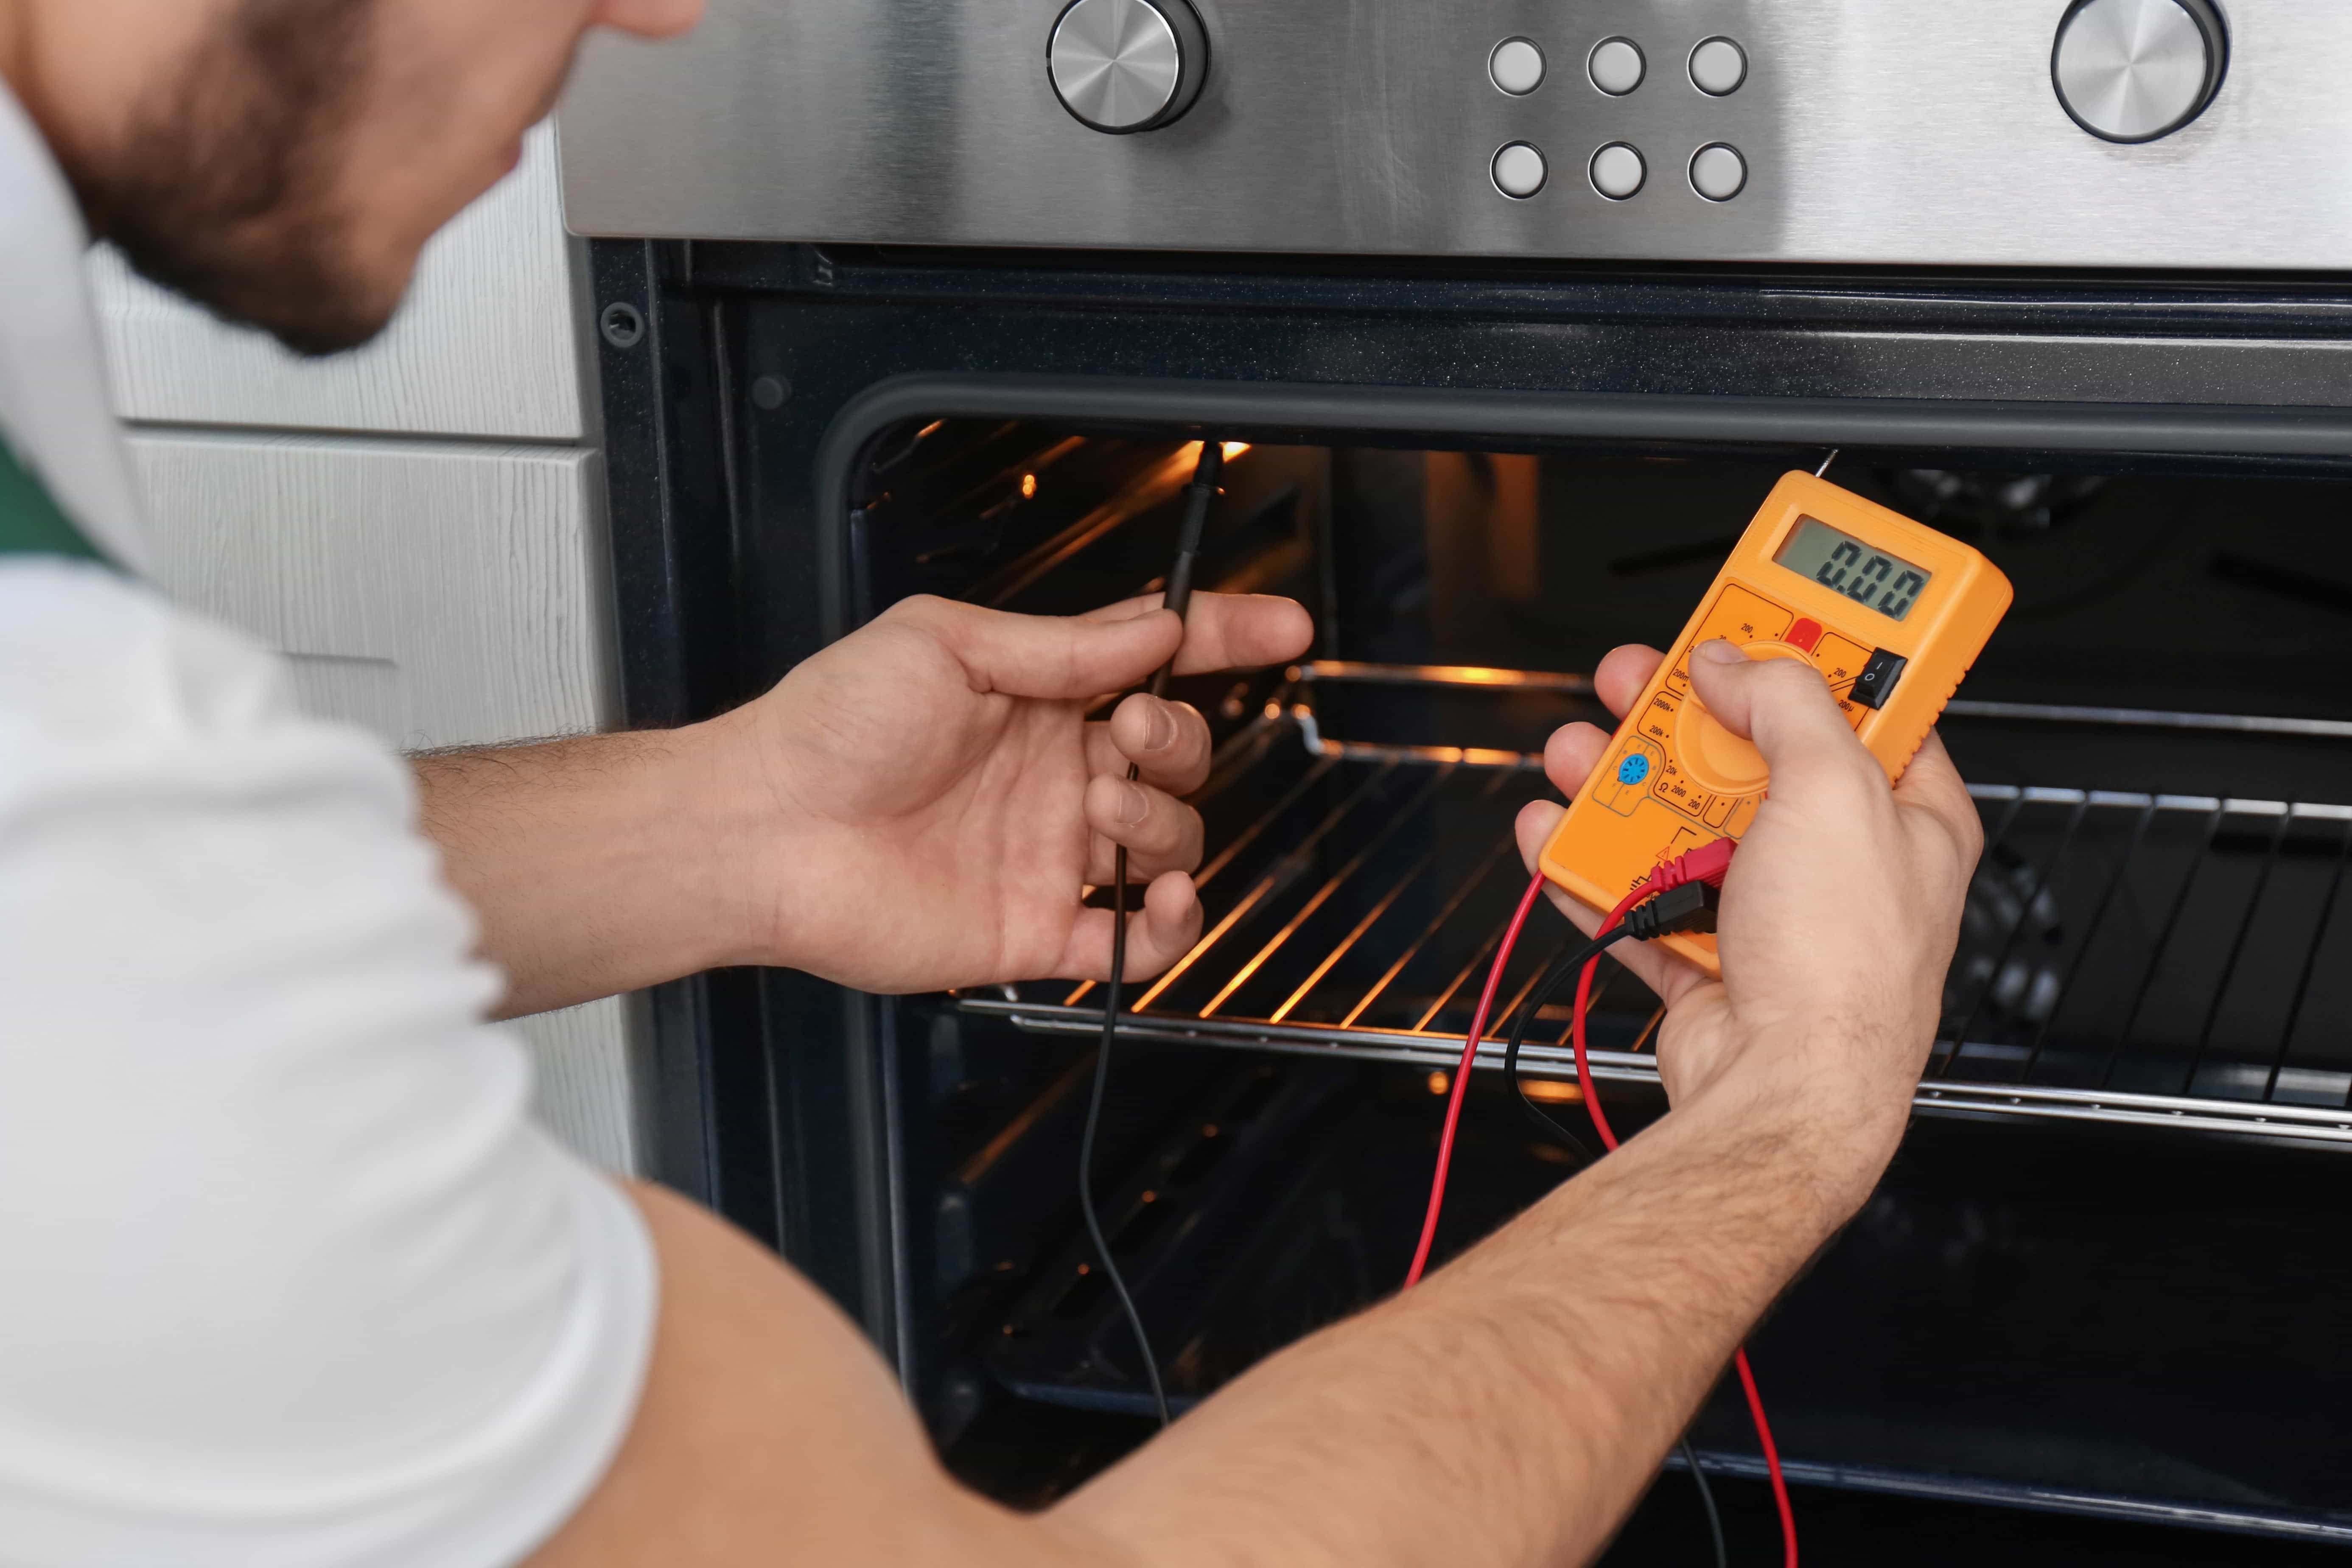
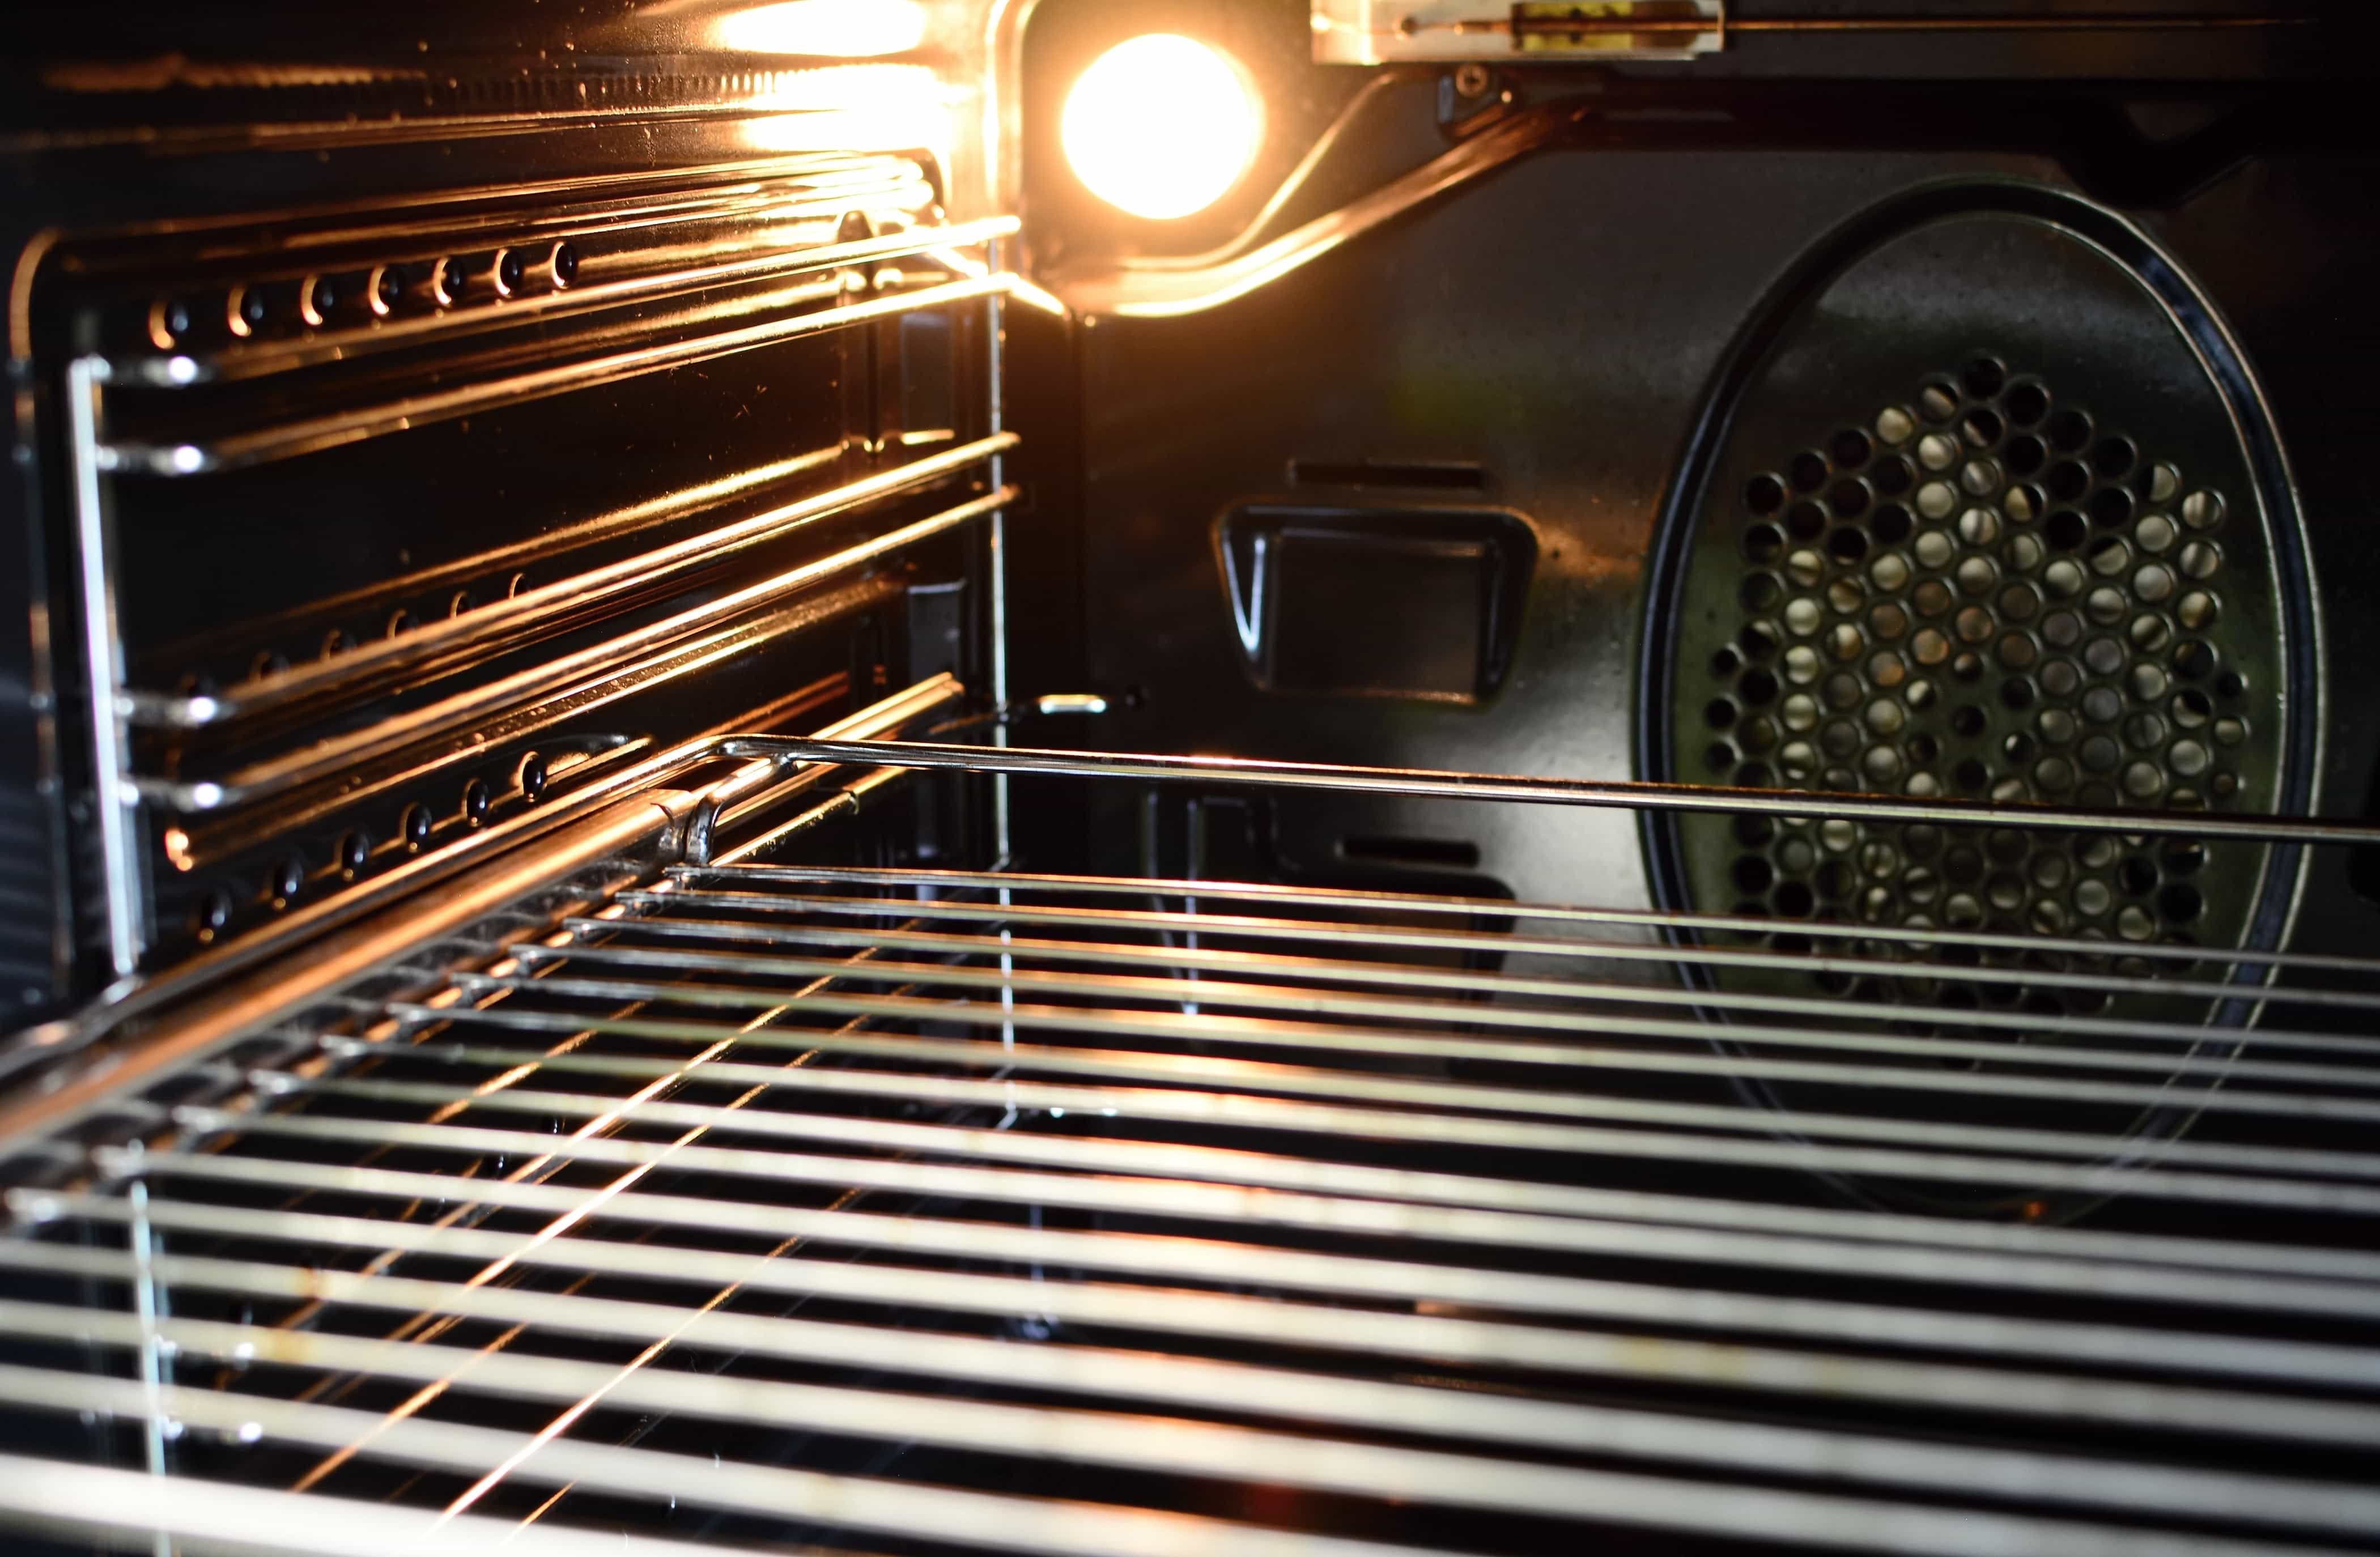
A gas oven not heating evenly could indicate a problem with the temperature sensor or the heating element. Follow these steps to check the temperature sensor:
- Make sure that the sensor is not touching the inside wall of the oven.
- Use an ohmmeter to ensure the sensor is functional. The resistance should rise as the temperature of the oven increases. If the ohmmeter shows that the sensor is not working, replace it.
- If your gas oven is still not heating after checking or replacing the temperature sensor, you may have a problem with the gas igniter. If that’s the case, follow the steps in “The Oven is Not Heating.”
- Once everything has been checked or replaced, recalibrate the oven.
- Heat the oven to 350 degrees Fahrenheit. Check the temperature inside the oven with an oven thermometer after 20 minutes. Continue checking the temperature every 20 minutes for the next 90 minutes to two hours.
- Add up the sum of the temperature readings and divide by the number of readings you took to get the average temperature of the oven.
- Adjust the oven’s temperature dial accordingly.